Creating A Colorful Playroom

When you have a little one that starts to roll and become mobile, the small activity mat that you’ve used for the past few months suddenly becomes ridiculously small! A larger play space is a must. Living in a cape-cod-style house, we don’t have very many open spaces for Wyatt to move around and play in. Luckily, we had a guest room that wasn’t getting much use so we decided that converting the room into a playroom would be a much better use of that space. It took me a bit to agree to give up our guest space, but it would be another room for me to decorate — yay!
 
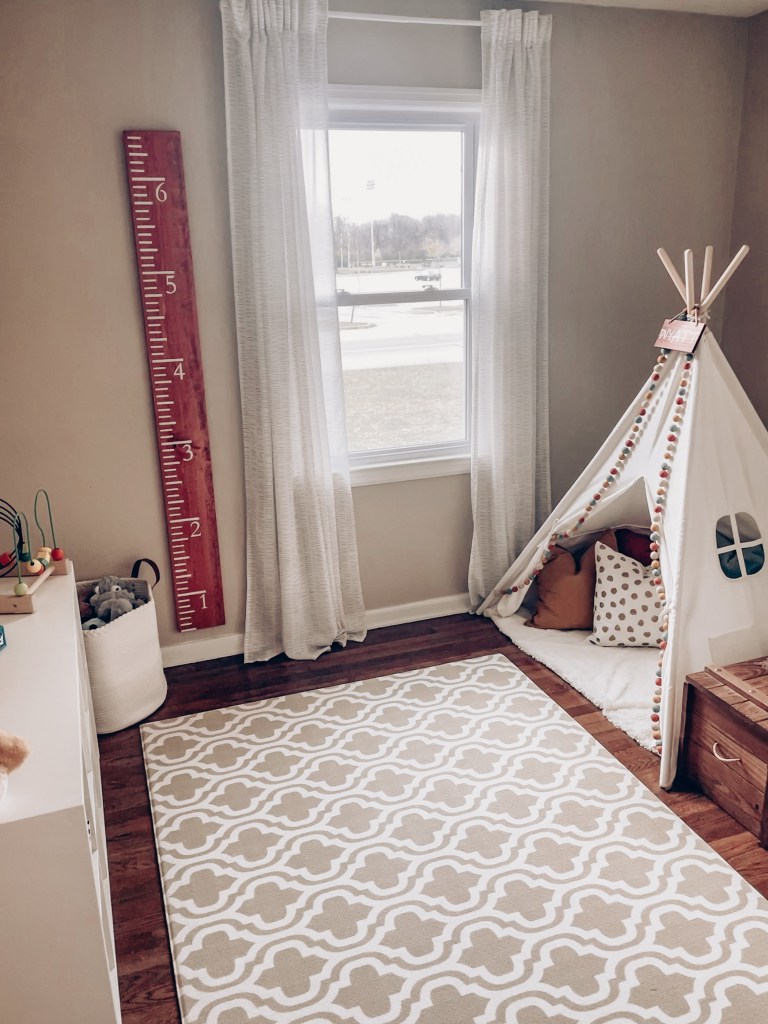
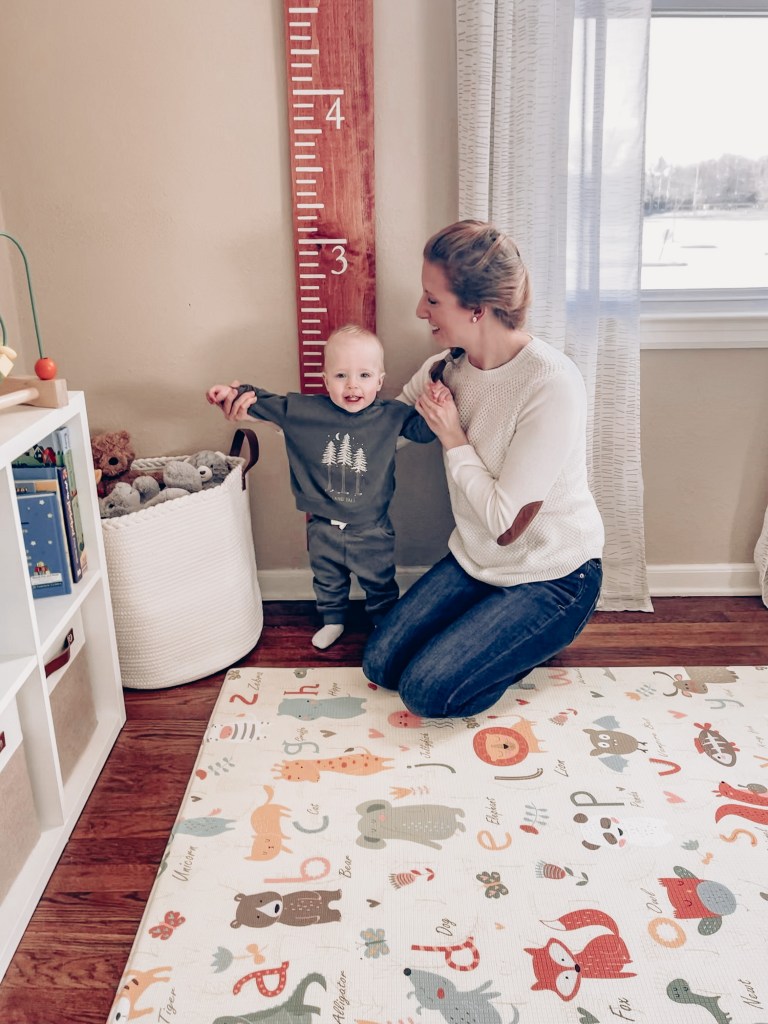
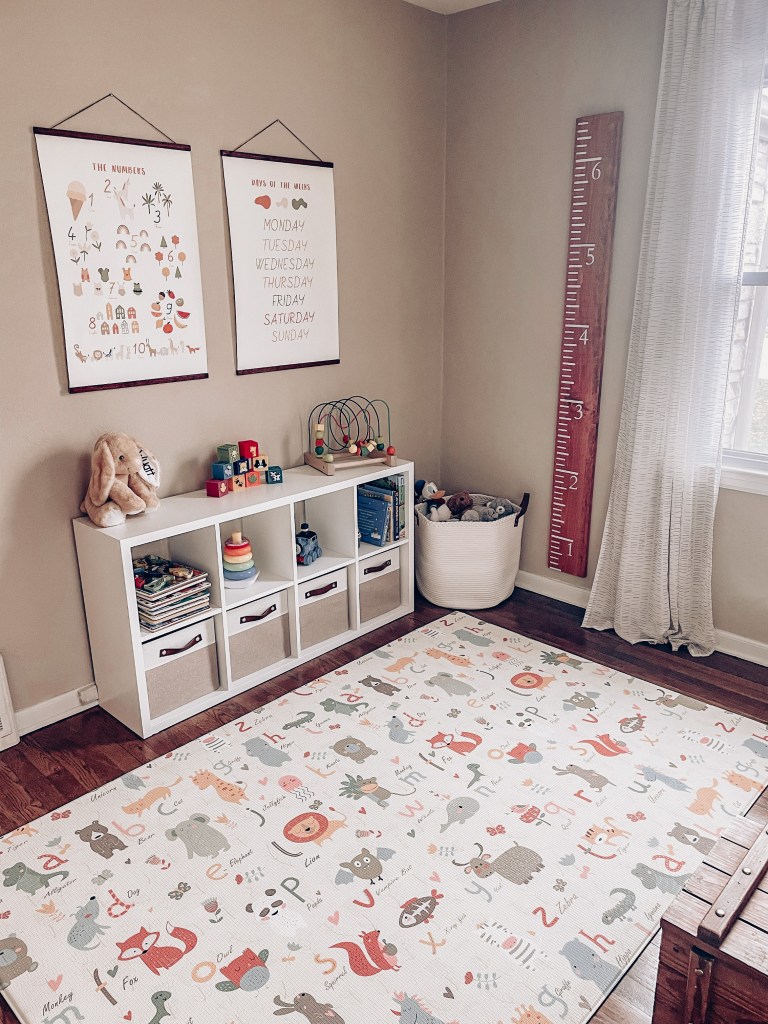
Unlike Wyatt’s neutral Woodland Nursery, I wanted this space to be colorful and fun. I first started looking for a play mat with the colors and look I wanted for the room. I found this adorable reversible foam mat on Amazon (I purchased the large size). The quality is amazing and it is very easy to clean. One side is filled with colorful animals and letters, and the other has a pattern on it similar to a trendy rug. Both sides of the mat look amazing in the space — it’s fun AND classy, all in one!

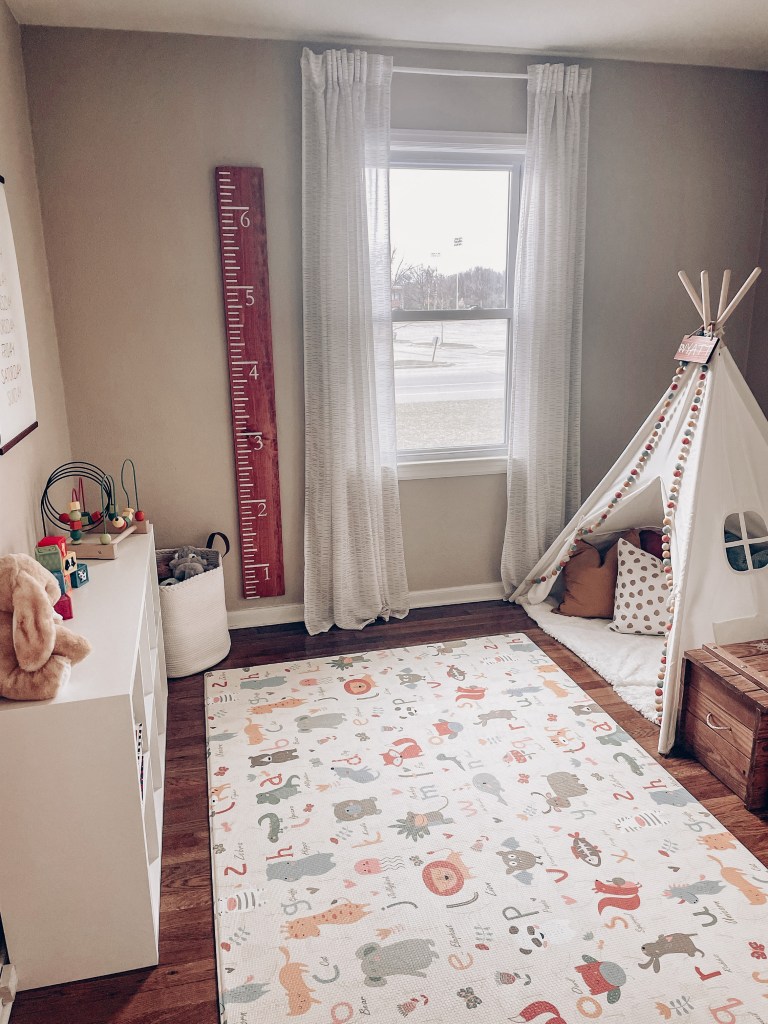
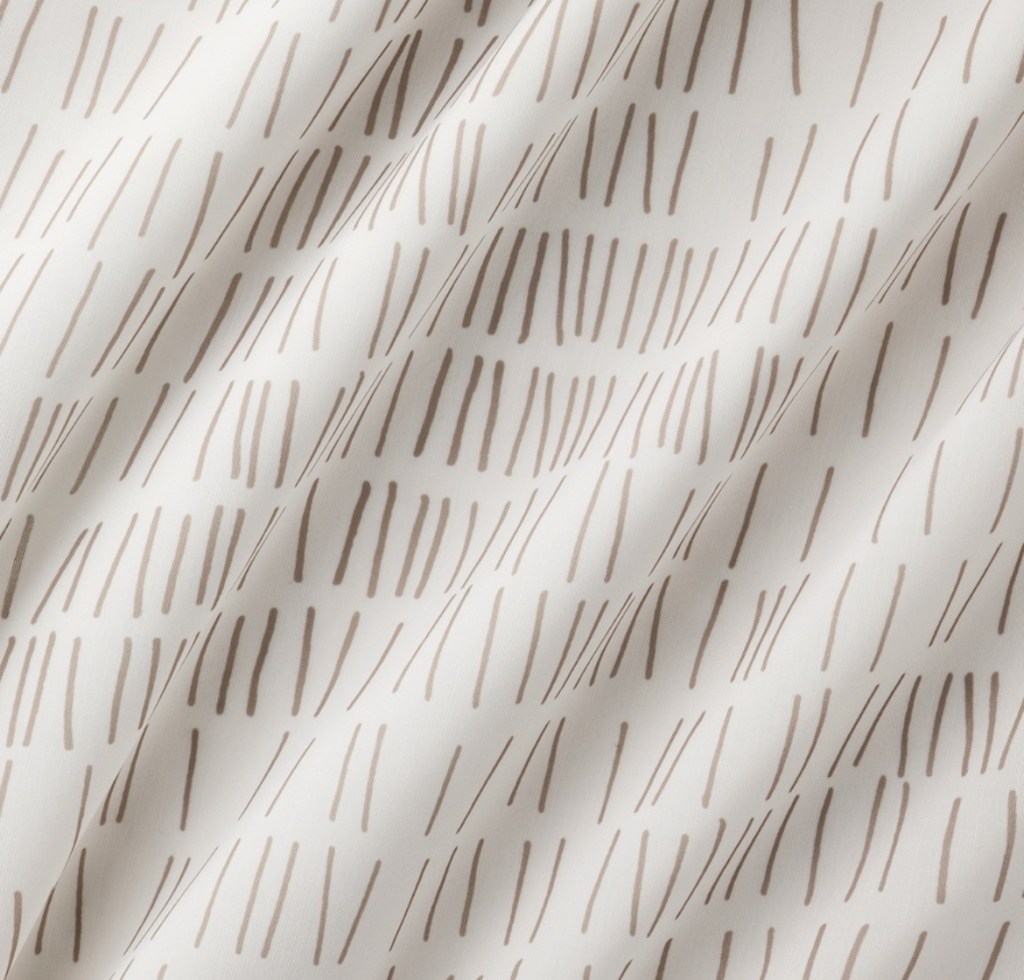
For the windows, I wanted a sheer, neutral curtain. I added these sheer white and beige curtains from Ikea. They have a simple pattern on them that matched our neutral walls, and they set the stage for all of the other colorful items.

Storage

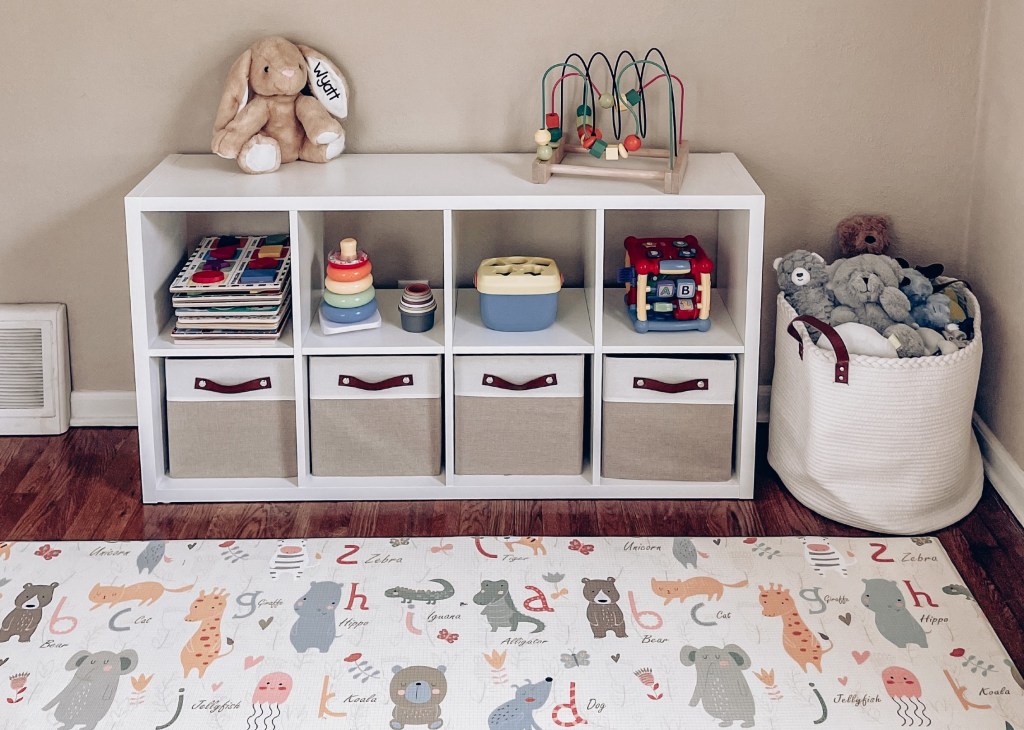
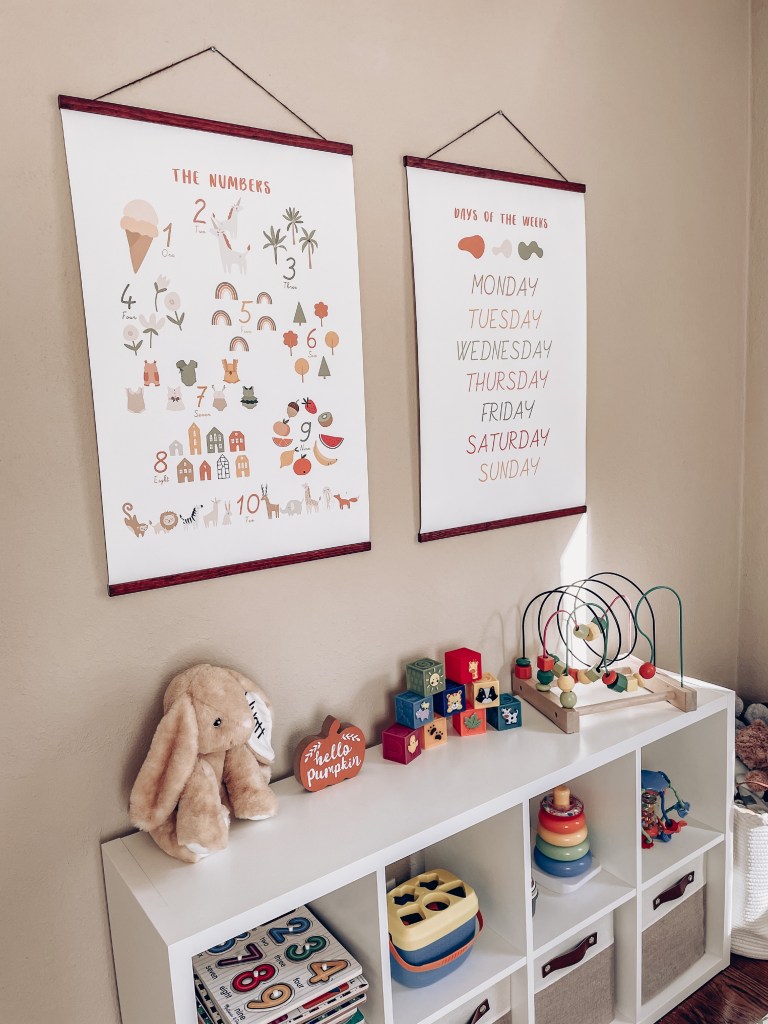
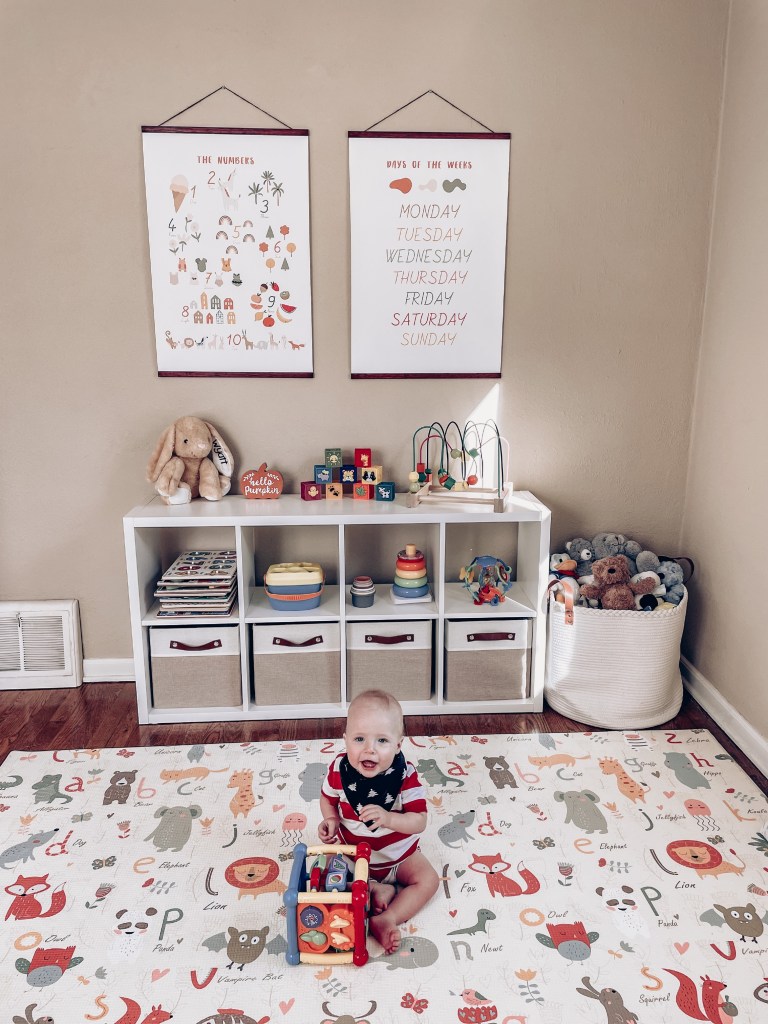
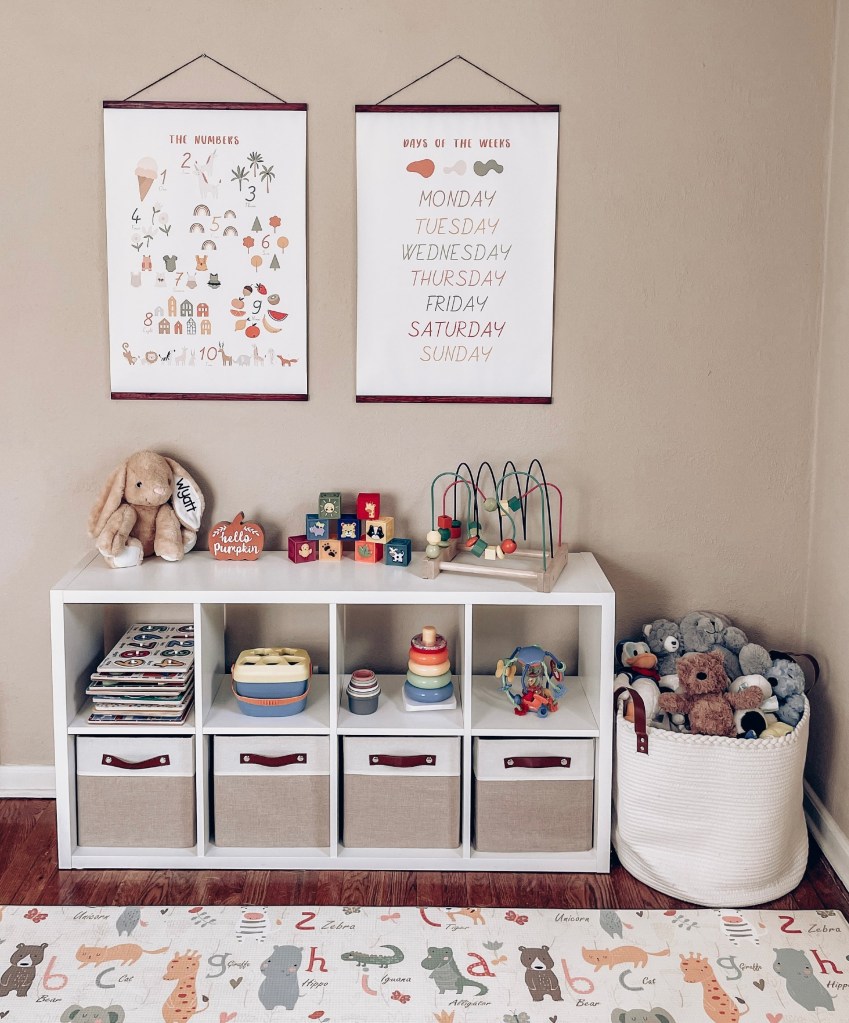
For all things kid stuff, I purchased the white FLYSTA cube shelf from Ikea. For the bottom row toy storage, I found these neutral cube storage bins. To match, this cloth basket was a great find for all of Wyatt’s stuffed animals.

Art

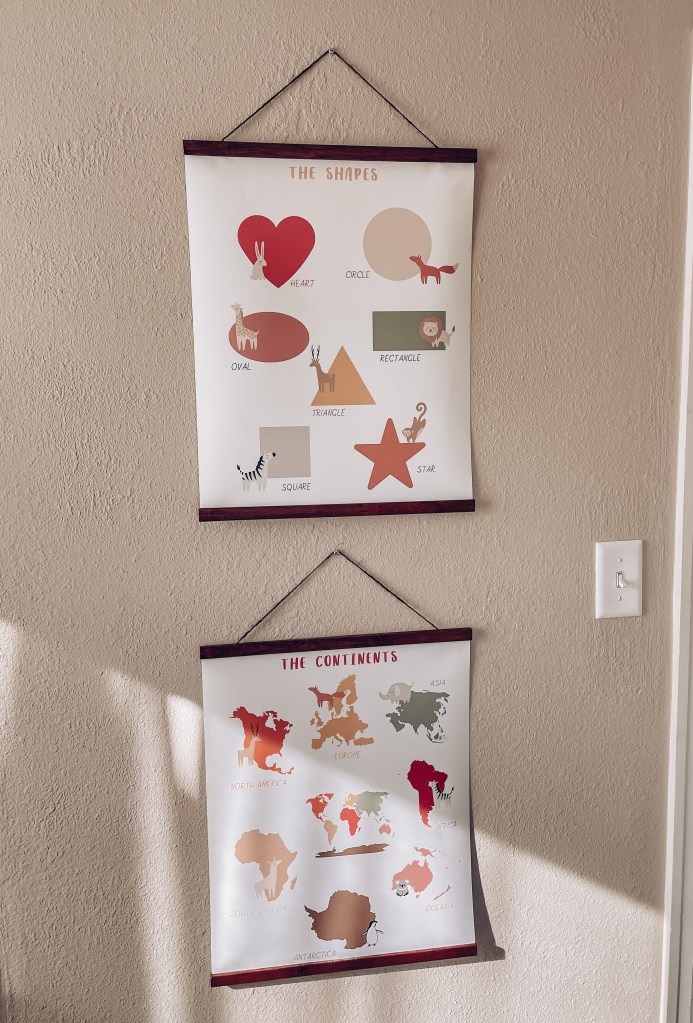
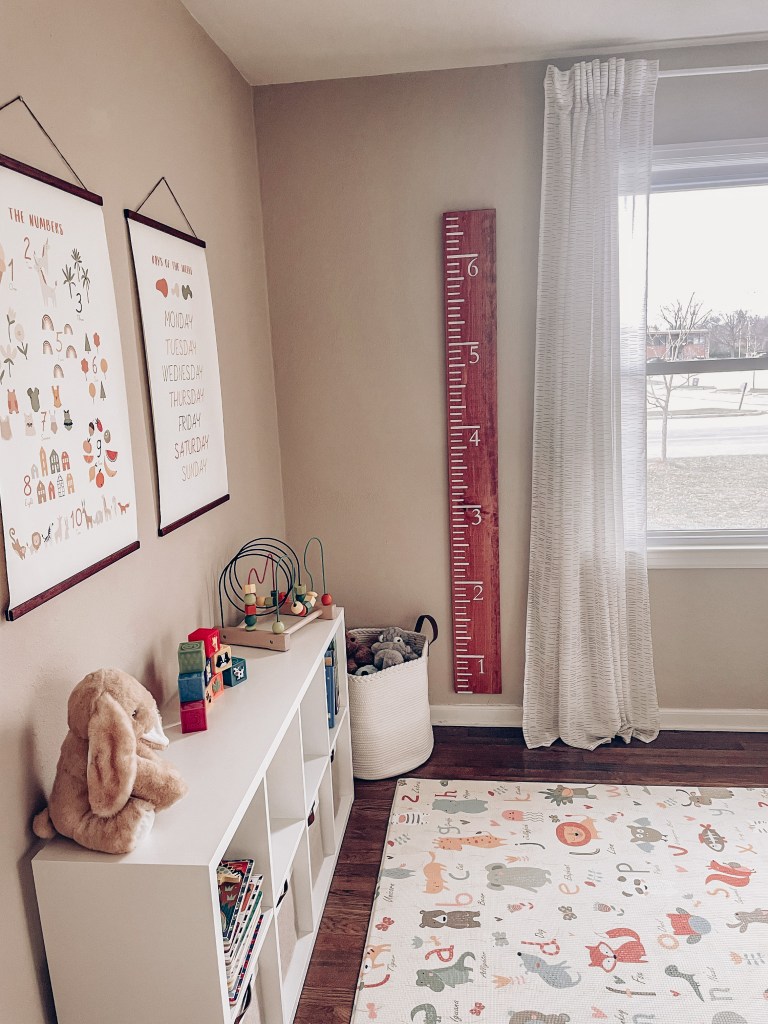
I’m a big fan of finding digital wall art through Etsy so that I can customize the size and frame, or hang them how I’d like. I chose this adorable set of wall art because it matched the colors and style of the play mat. The digital download includes art for the days of the week, shapes, the alphabet, numbers, weather, and the continents. I printed two larger poster prints (20×30 inches) for over the cube shelf and two smaller poster prints (16×20 inches) for a smaller wall space near the door.

My original plan was to purchase magnetic poster frames for each print, just as I did for the woodland print in Wyatt’s nursery. However, I could not find the exact stain/color that would match the darker handles of the cloth basket and cube shelf bins. Yes, I’m a perfectionist! So, I decided I would make my own.

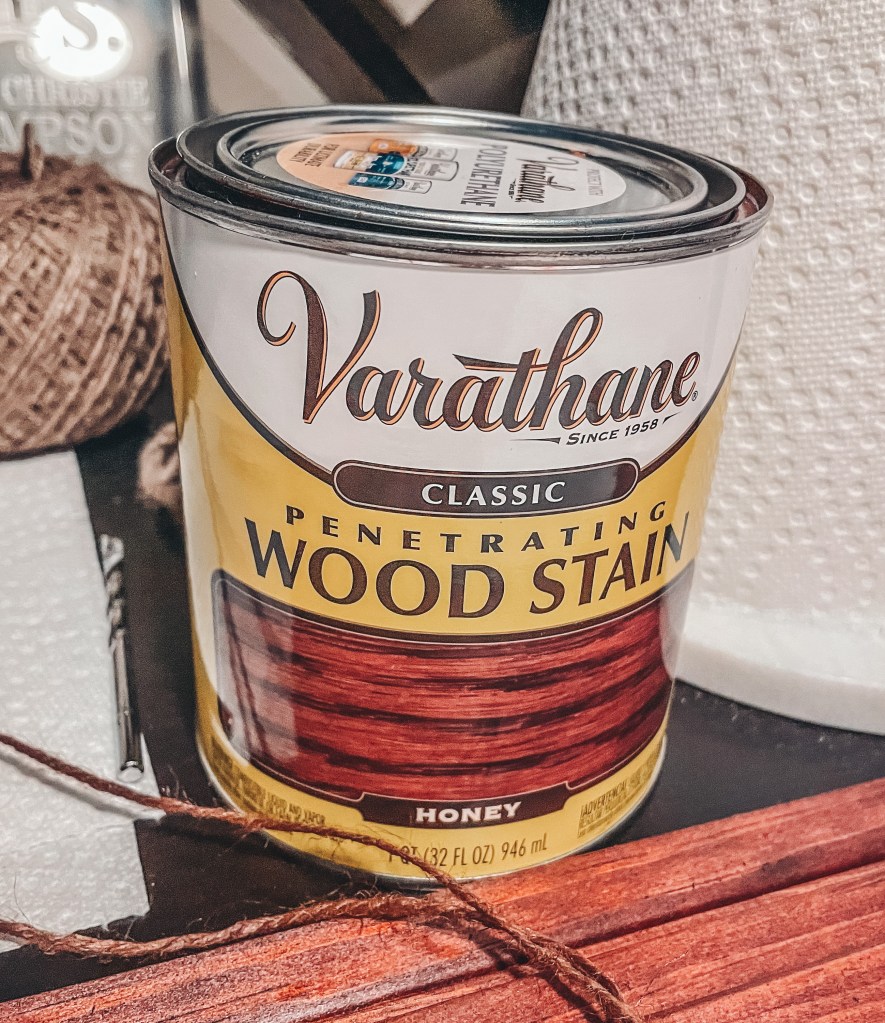
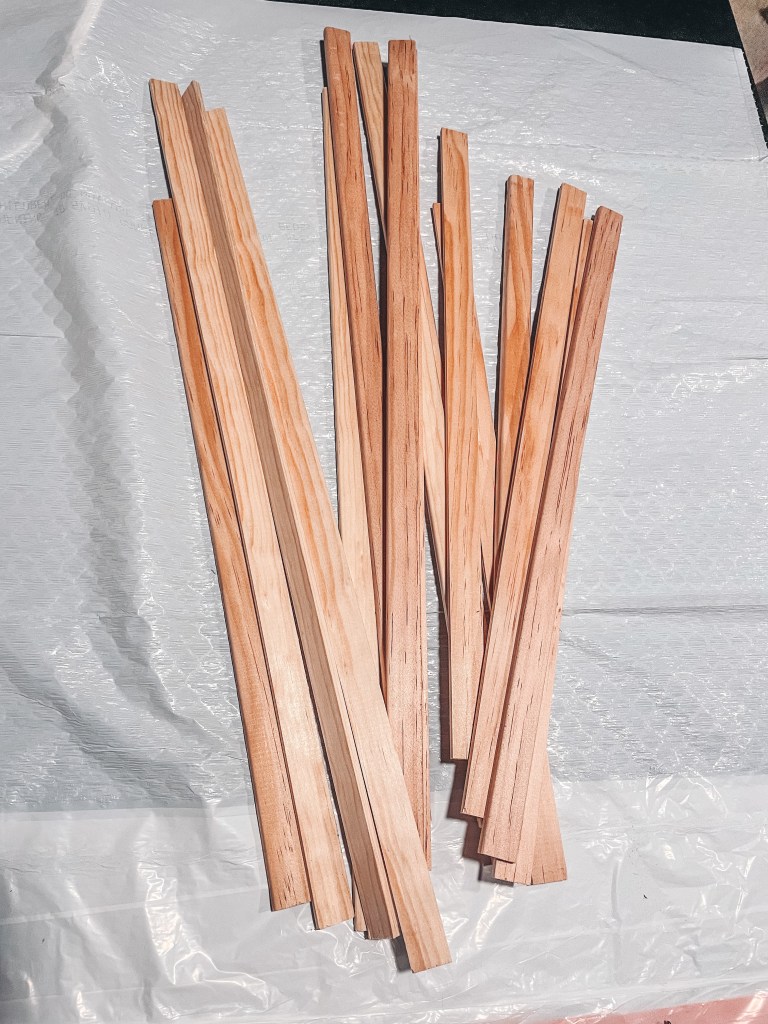
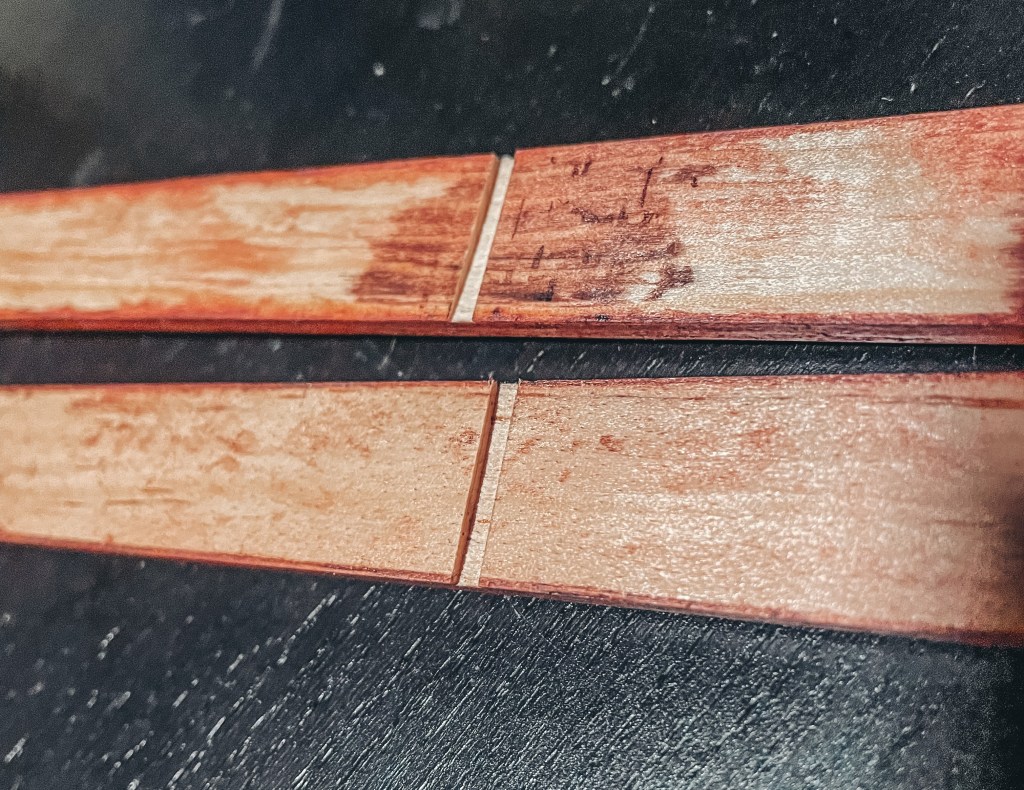
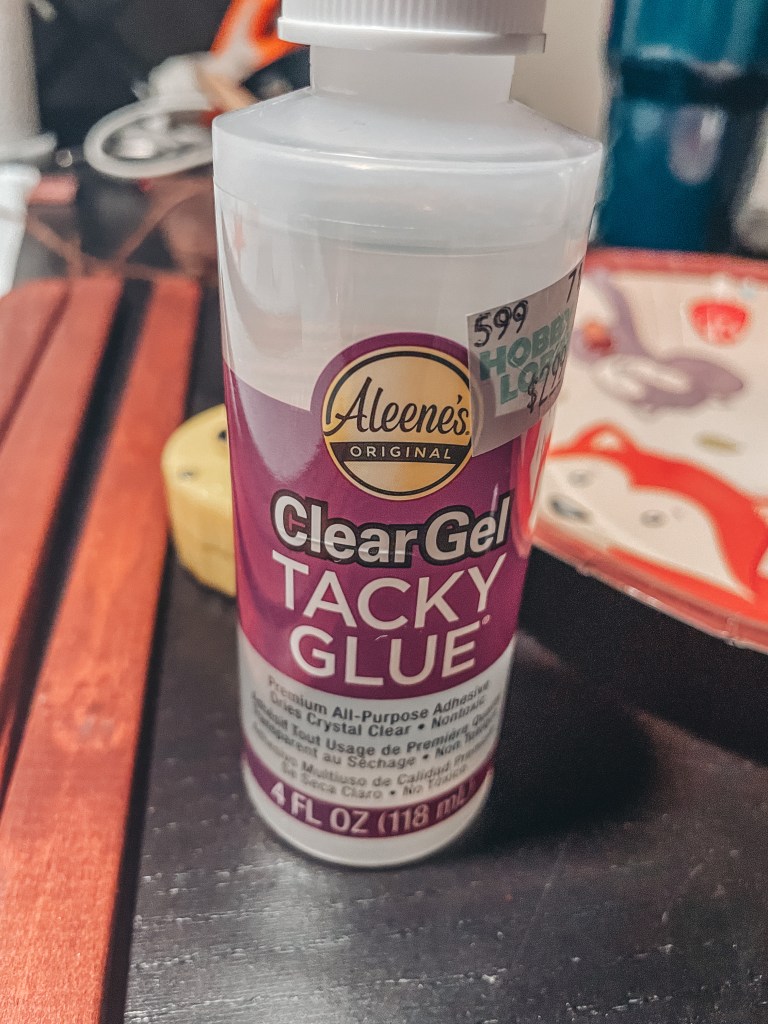
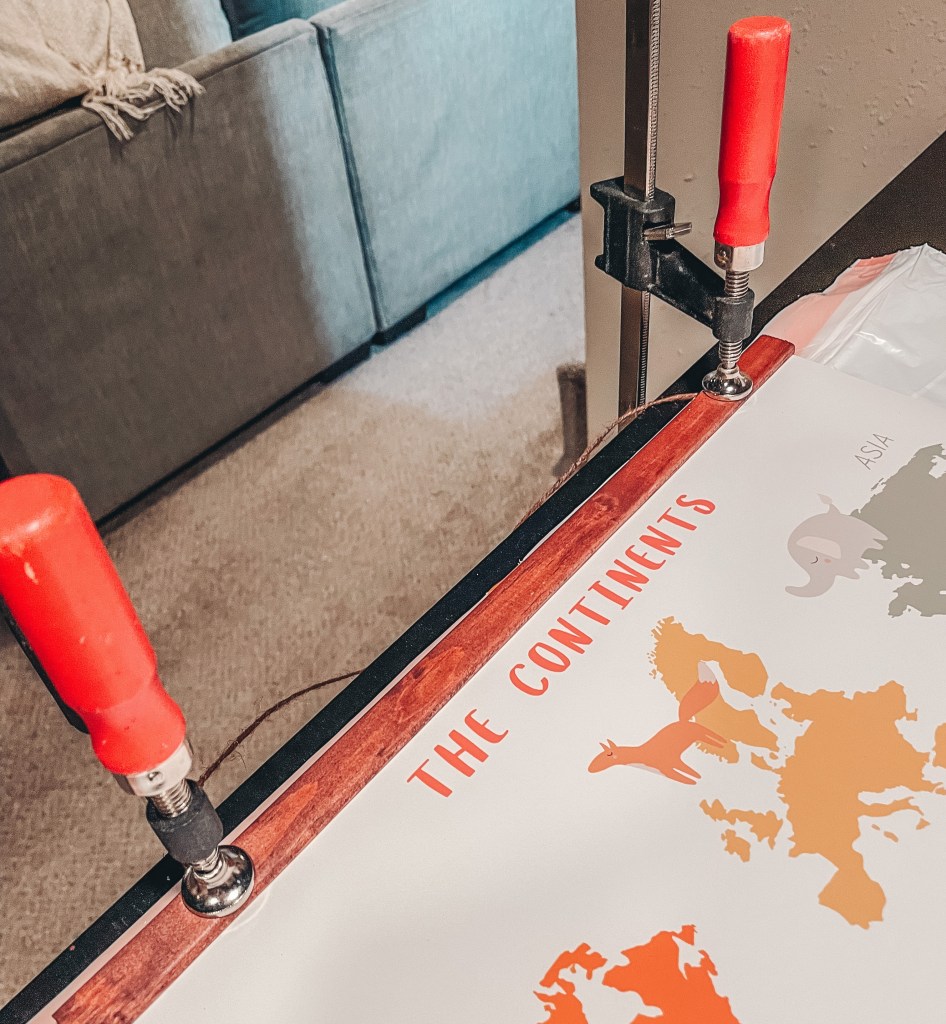
I found small wood trim that I cut into 20 inch and 16 inch pieces (the lengths of each poster size). Four pieces were needed for each poster, so I cut eight of the 20 inch and eight of the 16 inch. I found a wood stain (Honey Classic Wood Stain by Varathane) from Home Depot that matched the handles of the basket and cube bins, and I stained the wood and some twine for hanging. Once the wood was dry, I used craft glue to adhere two pieces to the front of the posters. I glued the bottom-back piece on and used a clamp to make sure the front and back were secure. The top-back piece looked a little different; I cut small grooves on the inside, about 2 inches from the edge, so that the twine could fit nicely between the wood and back of the poster. After letting everything dry in the clamps, they were ready to hang!

Ruler Growth Chart

To fill some empty wall space, I created this DIY “ruler.” When I saw this idea online, I thought it would be a fun and usable piece of art to track Wyatt’s height over the years. It was such an easy DIY and I loved that I would be able to customize it to coordinate with the rest of the play room.
 
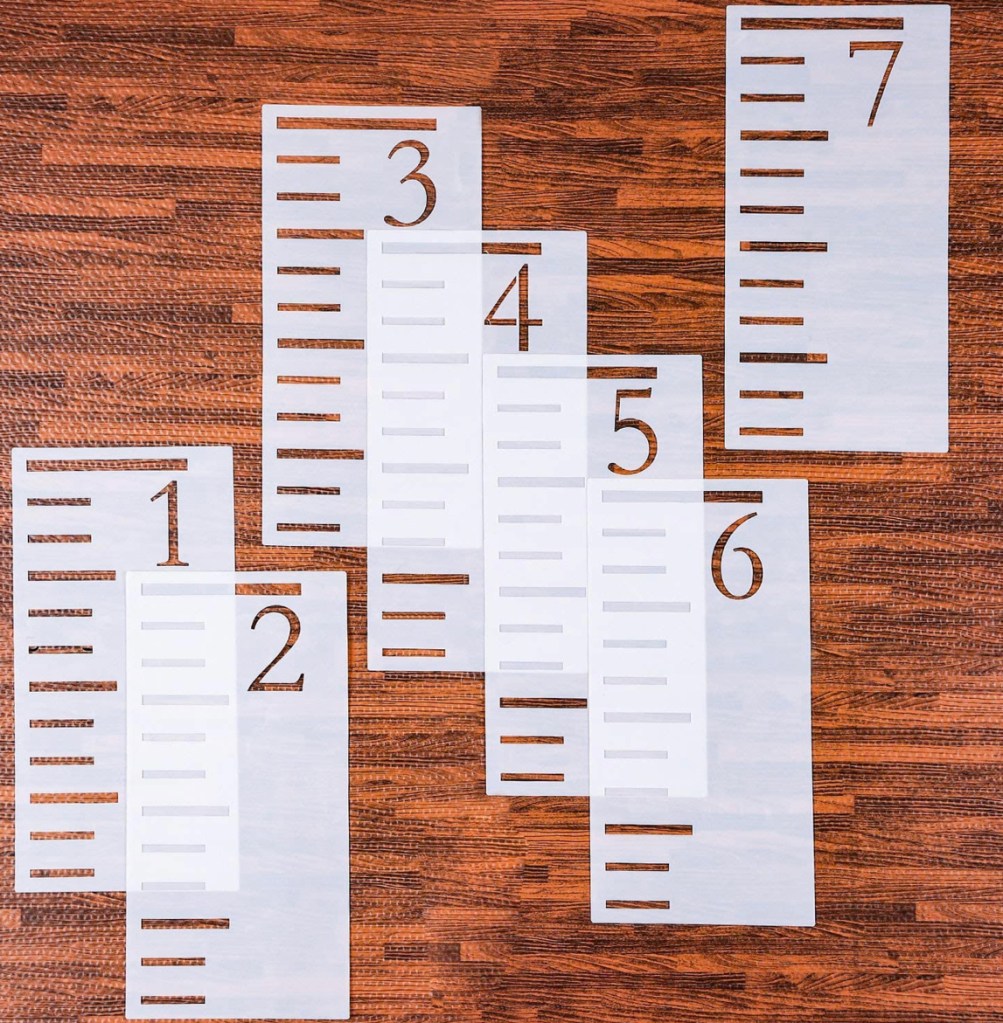
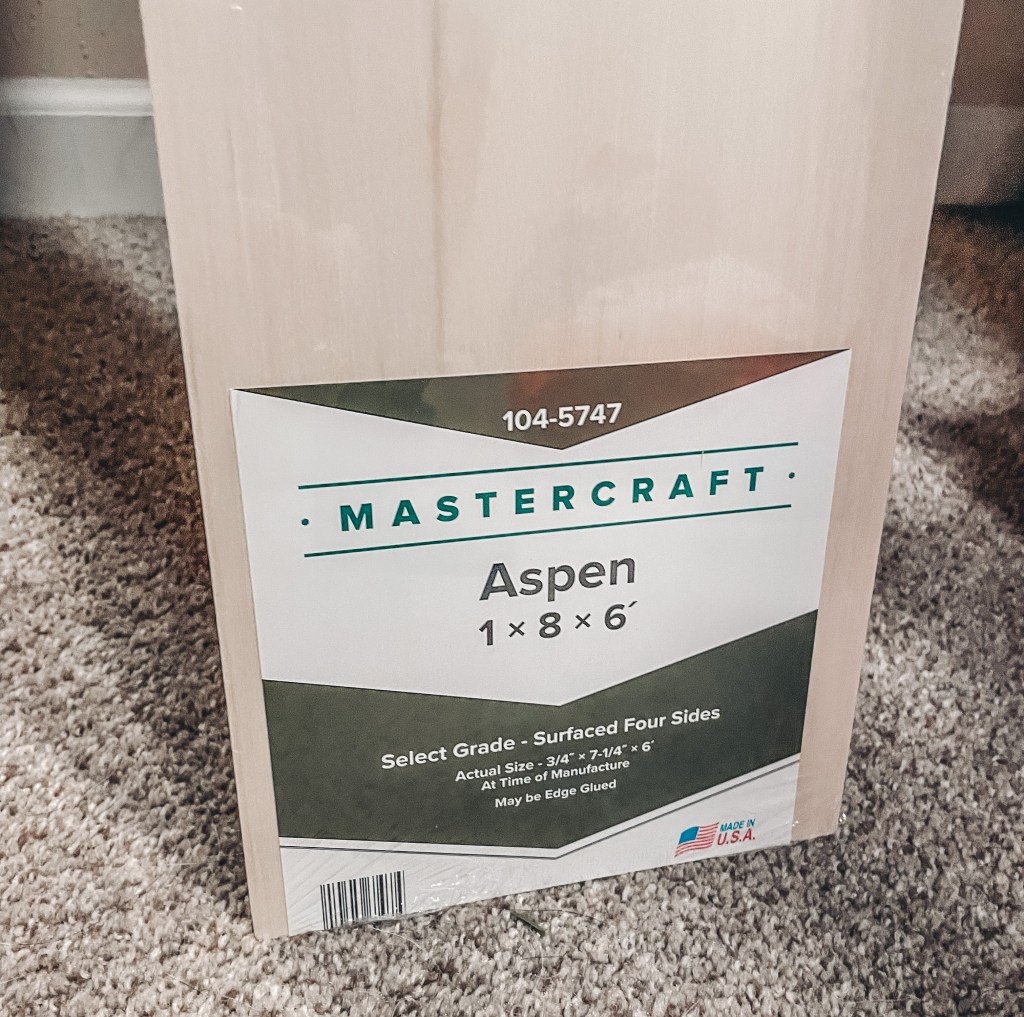
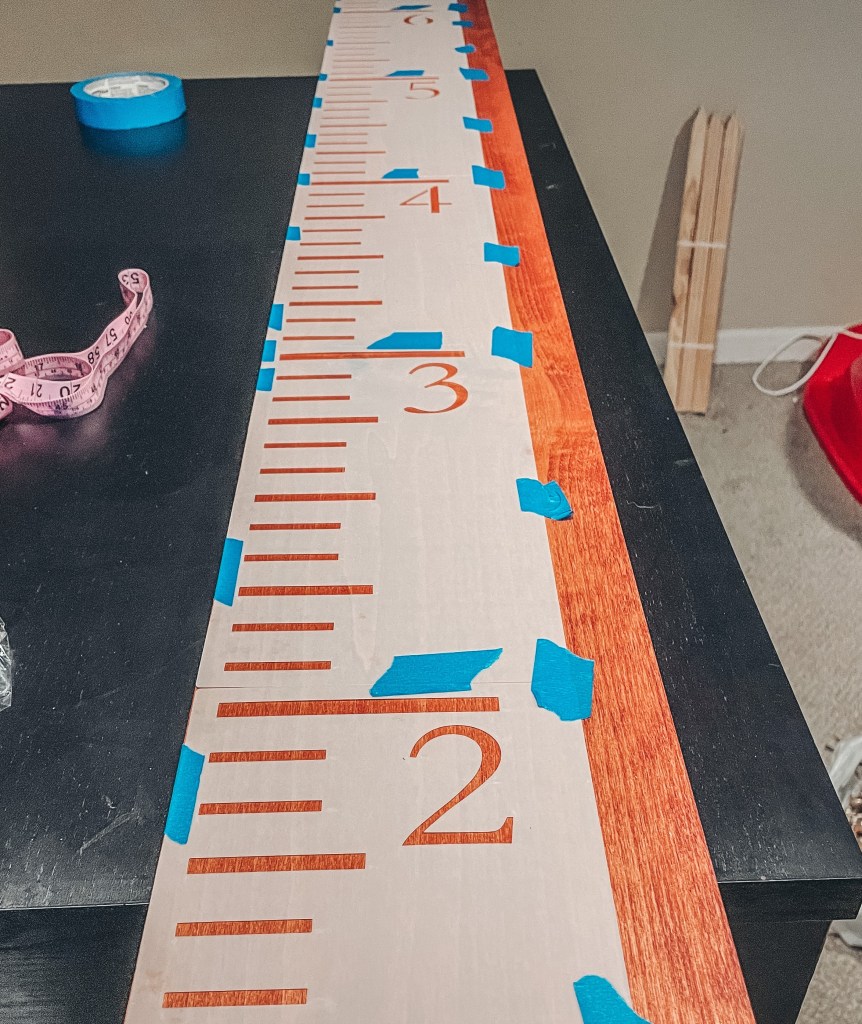
I bought an 8 inch x 6 foot board that I stained with the same shade (Honey) that I used for the poster frames. After the stain dried, I used these ruler stencils to paint on the numbers and hash marks with a shade of white acrylic paint. It’s such a fun addition to the wall art in this space!

Teepee

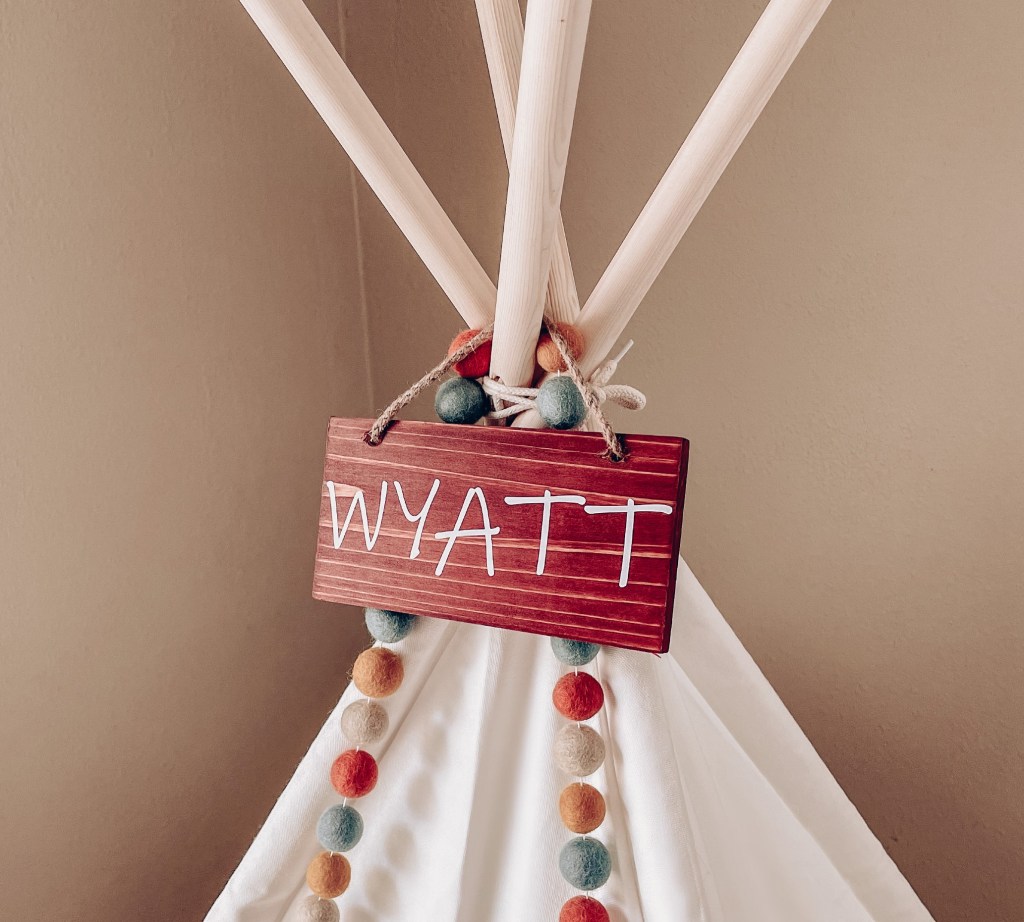
Of course, no playroom is complete without a teepee! To personalize it for Wyatt, I bought a blank wood sign from Hobby Lobby, stained it with the Honey stain, and used my trusty Cricut to create Wyatt’s name with white vinyl.

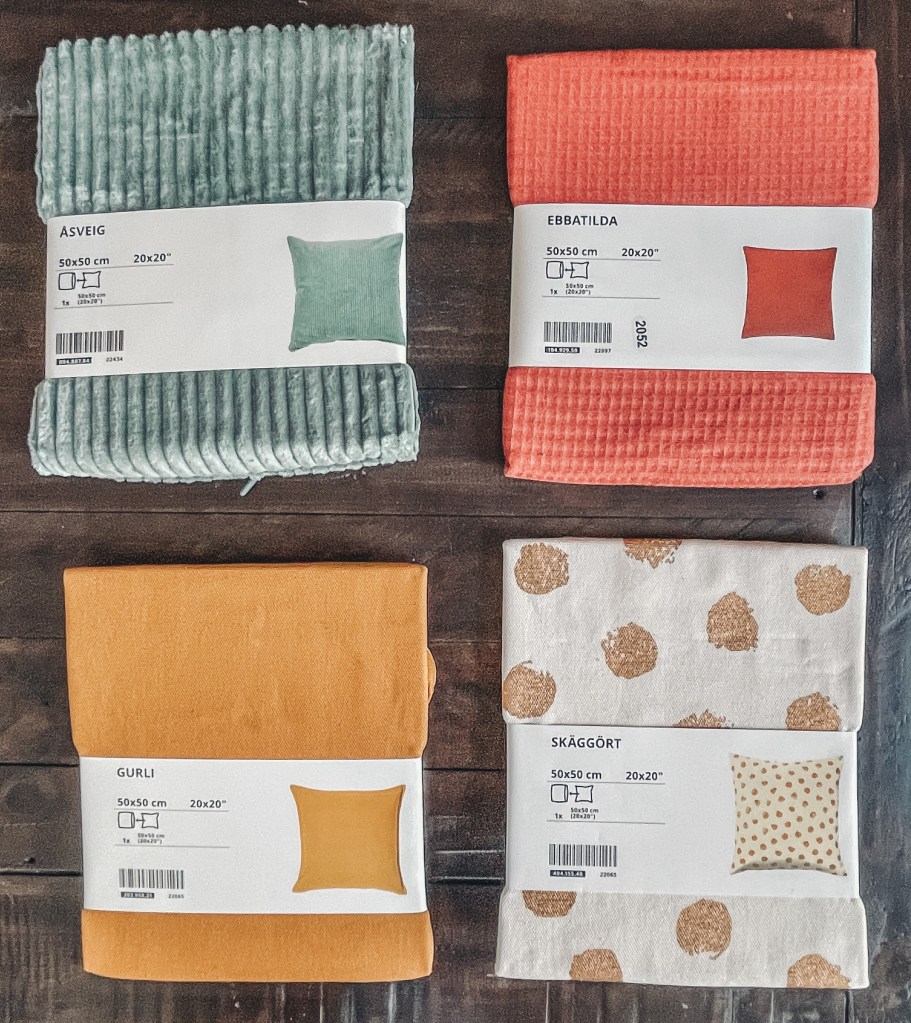
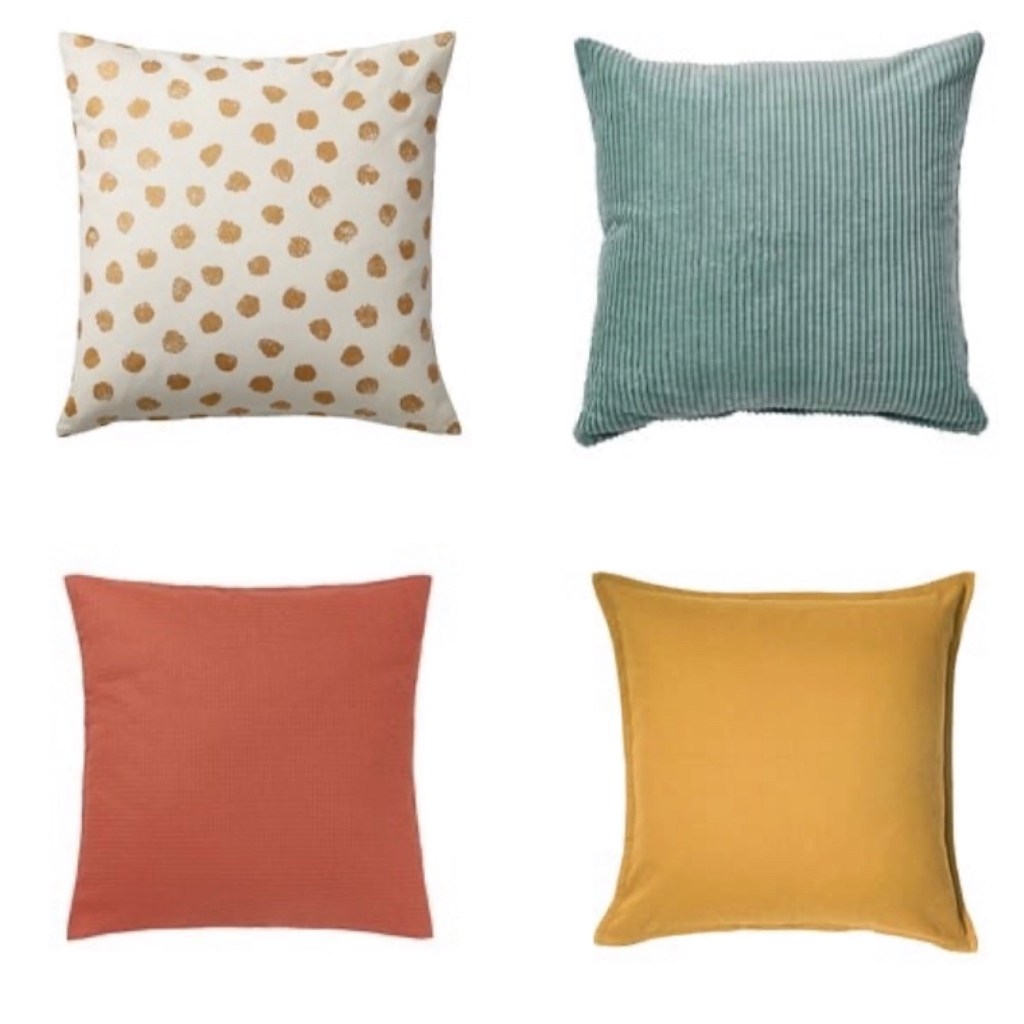
I also wanted to add some accessories to the teepee to add some color and to coordinate it with the rest of the room. For inside the teepee, I placed a white fuzzy blanket for comfort. I also added four throw pillows with pillow covers from Ikea that matched the colors of the animals and letters on the mat perfectly (gold, teal, polka dot, rust).

I also made a cute felt ball garland for the front of the teepee. I found an awesome Etsy shop that sells custom felt balls in almost any color! I ordered 100 felt balls in the colors terracotta, mustard, mint, and almond. Using a thick needle, I threaded string through the felt balls to create a 10 foot garland.
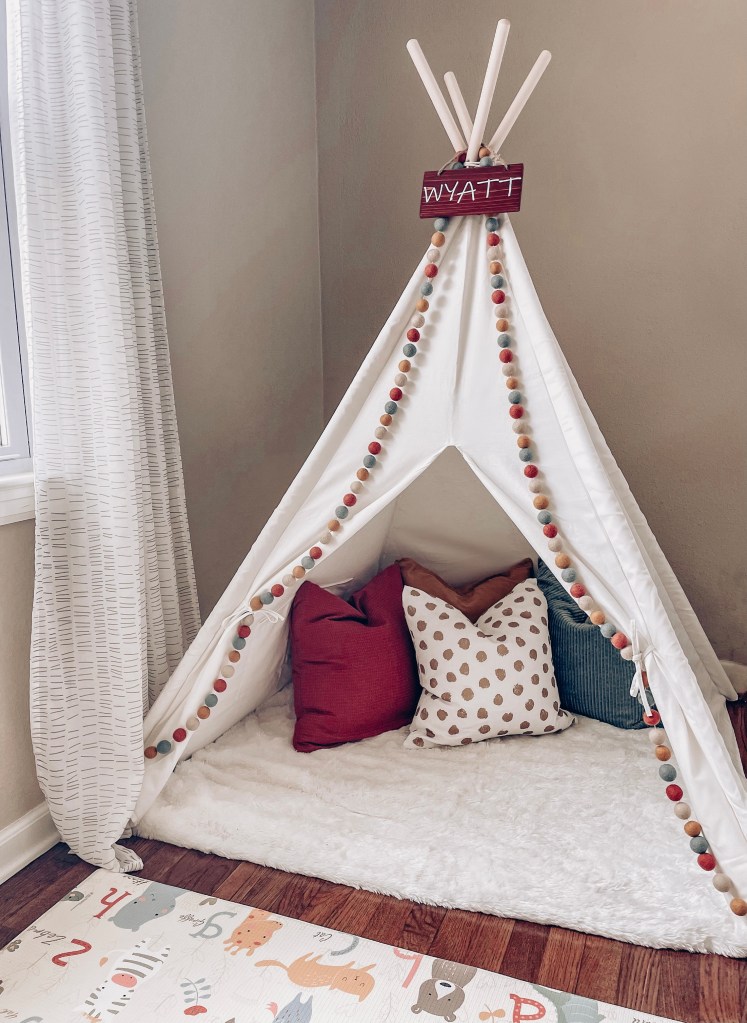
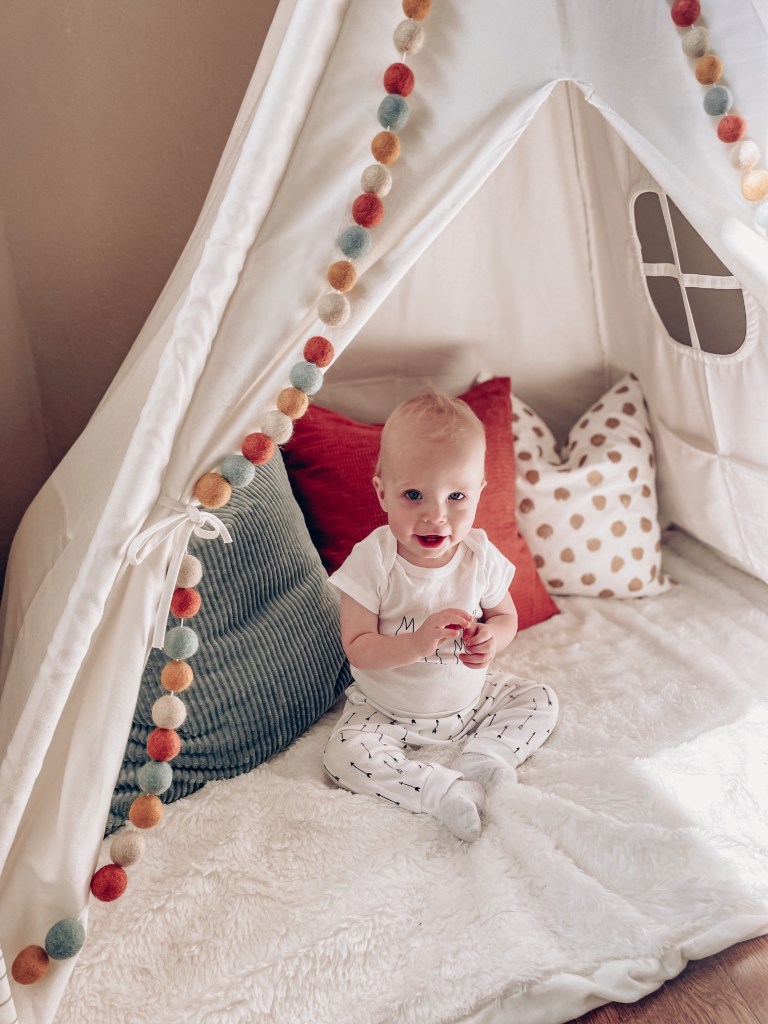
Ta-Da!

The finished teepee looks so comfortable and cozy, our pups seem to think so too! This space has been such a bonus as Wyatt has learned to crawl and sit up on his own. The bright, coordinating colors are so fun, and it’s a space that he can grow into as he gets older!

Thanks for stopping by, and I hope you found some inspiration!

How to Decorate Your Christmas Tree in 5 Easy Steps

It’s here! It’s time to bring out garlands, wreaths, presents, and trees for the most wonderful time of the year!

Setting up and decorating our tree is my absolute favorite part of preparing for the holiday season. My husband loves the classic, fun, look of a tree with colored lights and a mix of ornaments that have been gifted or made over the years. As much as I love a colorful, sentimental tree, the perfectionist in me prefers the look of an elegant, themed tree. 

When planning out our tree while winding up and down the aisles of Hobby Lobby, repeatedly, my ideas were going in all different directions. Do I want to use the classic red and green colors, a blush pink, all silver, all gold? Too many options – which is a good problem to have! I finally decided on burgundy and champagne for the look of our tree. I ended up grabbing two packs of the simple, round ornaments, one in each color.  

Christmas Tree Ornaments

Once our color scheme was set with the ornaments, I began to choose the other decor elements. I typically use ribbon and a few floral stems to give the tree more dimension. I also pick out a few uniquely shaped ornaments that are the same colors as my theme, such as snowflakes or larger, detailed ornaments. After spending way to much time carefully searching and choosing, I purchased glitter champagne wired ribbon, burgundy wired ribbon, burgundy berry stems, gold leafy floral, thin gold spiral stems, large and small snowflake ornaments, icicle ornaments, some glitter ornaments, a tree skirt, and to top it off a glitter star tree topper. Phew – that’s a whole lot of Christmas in way too many Hobby Lobby bags! 

Now let’s decorate our tree!

1. Lights
Once the tree is set up, it’s time to brighten things up with the lights. We love to add twinkling lights to give our living room some extra sparkle. We typically use three strands of twinkling white lights and 4 strands of regular white lights. To turn the tree lights on and off, we use a combination extension cord/foot switch. It allows us to keep the lights plugged in and a quick tap of the foot on the button turns the lights on and off easily.

Christmas Tree Lights

2. Ribbon
Next, I add the ribbon. When putting the ribbon on, I start at the top and wrap it around the tree in a gradual downward fashion. The wire in the ribbon is very helpful to shape the ribbon so it appears flowy as it runs throughout the tree. When using two colors, I always alternate the two going down the tree.

3. Floral
After the ribbon is in place, it’s time for the floral and gold swirls! For this tree’s theme, I have about 20 of the berry stems, 20 of the gold leaf floral, and one package of swirls (contains about 50 stems). I place the elements throughout the tree so each is spread evenly. I have found that the floral with longer stems are easy to place sturdily in the tree. 

4. Ornaments
Now, it’s time for ornaments! I placed them around the tree to have an even mixture of colors, textures, and uniquely-styled ornaments throughout.

5. Topper & Skirt
For the finishing touches, add your tree topper and tree skirt!

And here is the finished product! I love how it turned out!

Christmas Tree
Christmas Tree
Christmas Tree

Everything on my tree is from Hobby Lobby. You can’t beat their prices when all things Christmas are 50% off! Happy decorating! 

Christmas Bedroom Decor

Deck the halls with boughs of holly! Yes, all the halls, including the bedroom! This season was the first time I decorated our bedroom for the holidays, and I am so glad I did! In the past, I’ve kept the bedroom decor more neutral year-round, but this year I couldn’t pass up the opportunity to add more Christmas decor to our home. Having the holiday colors and lights in the bedroom gives it a cozier feel!

Our king headboard is a great staple bedroom piece. It’s a beautiful shade of beige that goes with everything. The tufted headboard also provides the perfect “ledge” to set garland on. In the garland, I wove some string fairy lights to give off a tiny amount of light. The soft glow that the lights create is so pretty that I may never want to take them down!

Headboard/Bed frame
Nightstands
Garland
Lights

I bought two different throw pillow covers to put over plain pillow inserts. The burgundy pillows are 20×20 and the snowflake pillow is 18×18. I prefer to buy pillow covers because they are easier to clean, interchangeable for every season or holiday, and easy to store when not on display. The burgundy covers are SO soft, and the snowflake cover is perfect for the Christmas and winter season!

Snowflake Pillow Cover
Burgundy Pillow Covers
Throw Pillow Inserts

On each nightstand, I have cute little trees that everyone has been loving from the Target Dollar Spot. Cute little Christmas trees for $3 each?! Yes, please! I also found two matching Rae Dunn signs – “Merry” and “Believe” – to sit beside the trees. It’s very simple, but I love how these items match the red from the throw pillows and stand out on the white nightstands. 

Trees
“Believe” Wood Sign
“Merry” Wood Sign

Who else decorates their bedrooms for the holidays or seasons? Describe your favorite bedroom decor in the comments below!