I have always strived to have nicely organized spaces in our home, and our entryway is no exception. Since we’ve been in our house, the space by the front door has been a hot spot for piles of shoes and guests’ belongings. Some of these things have even been “toys” for our puppy, Leo! To resolve that issue, I had been searching for a piece of furniture that could help organize shoes, and to be a place for guests to set their belongings. Anytime I’d shop, I always kept my eye open for a bench or storage cabinet, but I didn’t see anything that I loved that could fit in our cozy entryway space.
Then, while browsing Pinterest, I found pictures and plans for the perfect DIY wood bench! My husband is extremely handy with woodworking, so I was excited that we would be able to make that a project of ours. The best part is that the materials are super affordable!
The plans for the bench came from Cara, from @neverskipbrunch. You can find her original blog post and detailed YouTube video with instructions for assembly here.
Keep reading to see how we finished our bench, and how we styled it in our home!
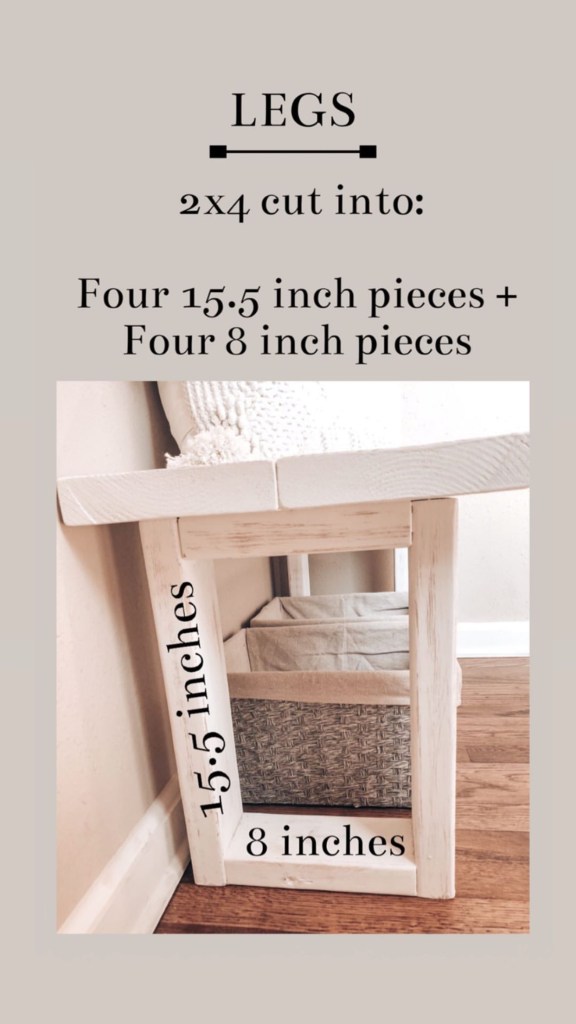
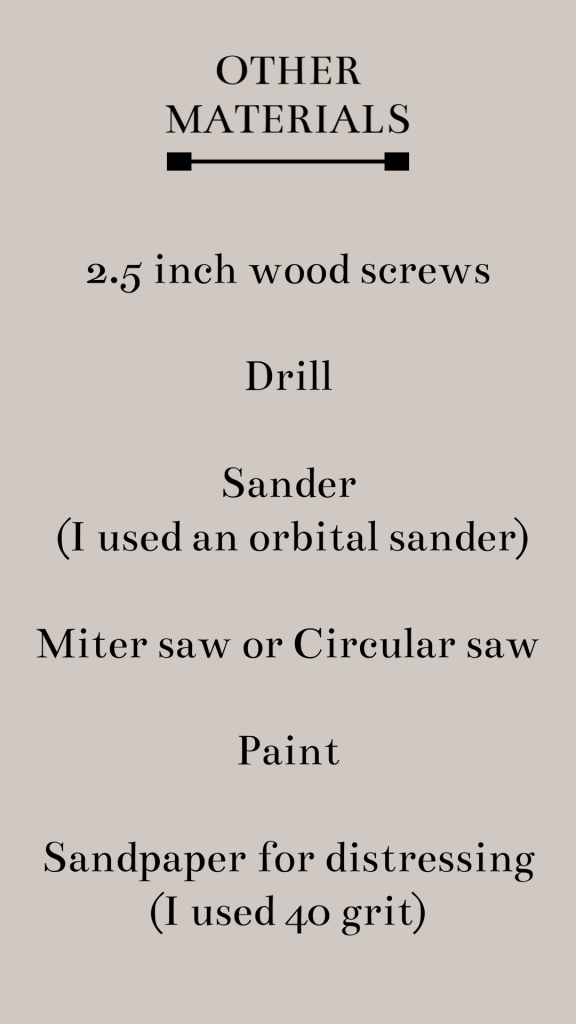
What You’ll Need

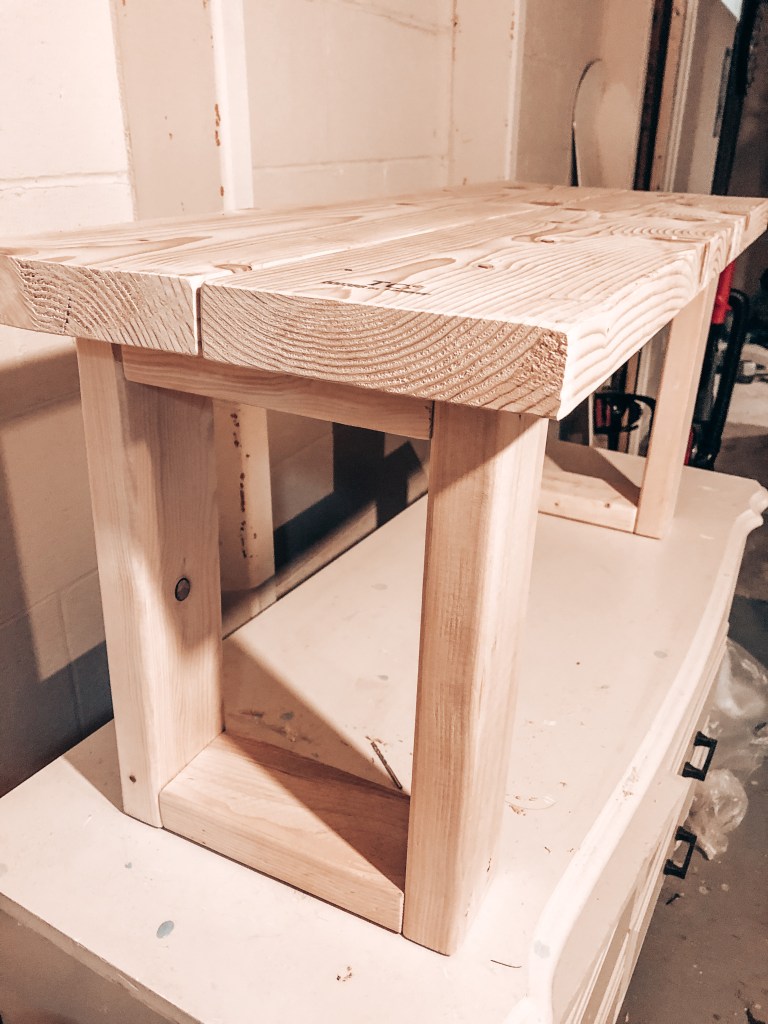
Assembly
My husband is the real handyman around here, so having me articulate the specific assembly instructions would be quite comical and unproductive. As I mentioned above, specific assembly instructions can be found at Never Skip Brunch Blog.
Finishing
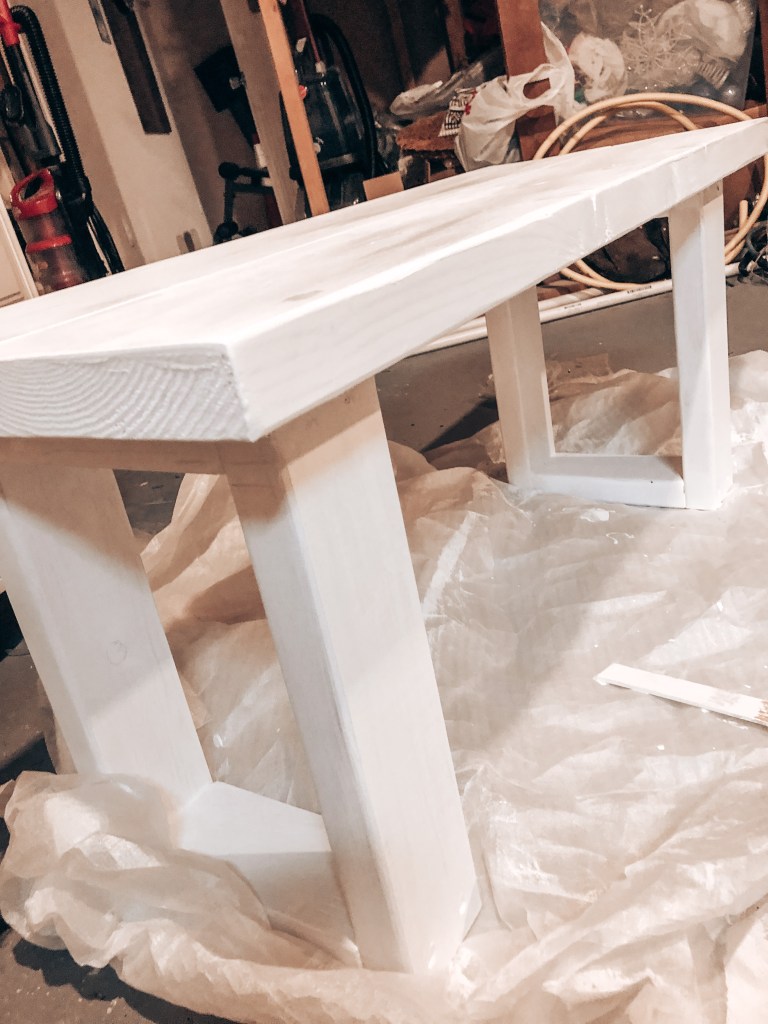
Once all of the bench pieces were assembled, I sanded all sides to eliminate the rough edges and make the wood smooth for the paint. I used 120 grit sand paper with an orbital sander.
Next, it was time to paint! I used a standard paintbrush and applied two coats of paint. I used the shade Snowbound, a primer/paint from Valspar. I chose this paint color over a wood stain (used in the plans I found) because the wall decor in our entryway are all distressed beige-white colors.

After the paint dried, my favorite part was next – giving the bench a distressed/antique look! I distressed it by hand using 40 grit sandpaper so I could control the amount of paint that was sanded off.
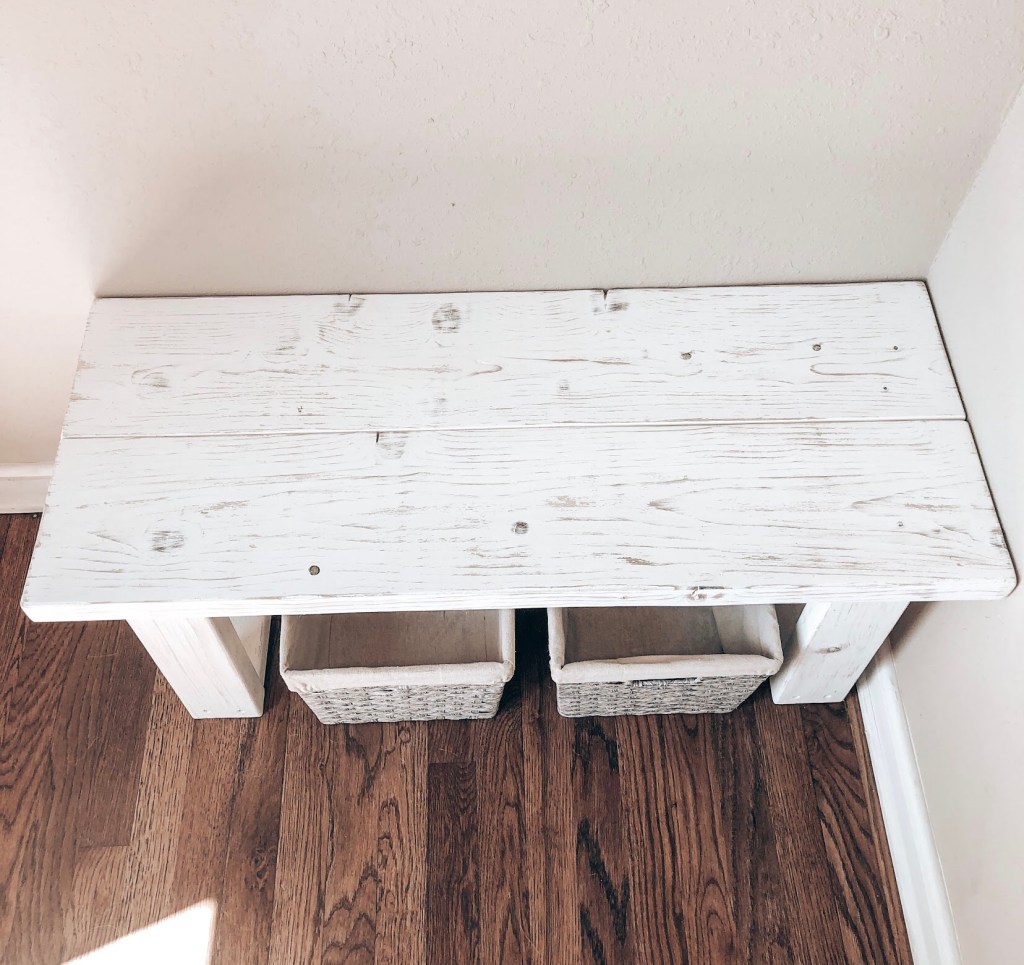
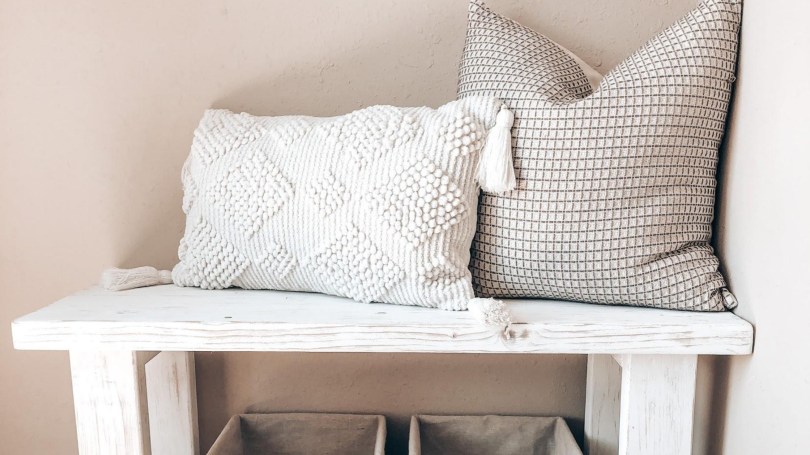
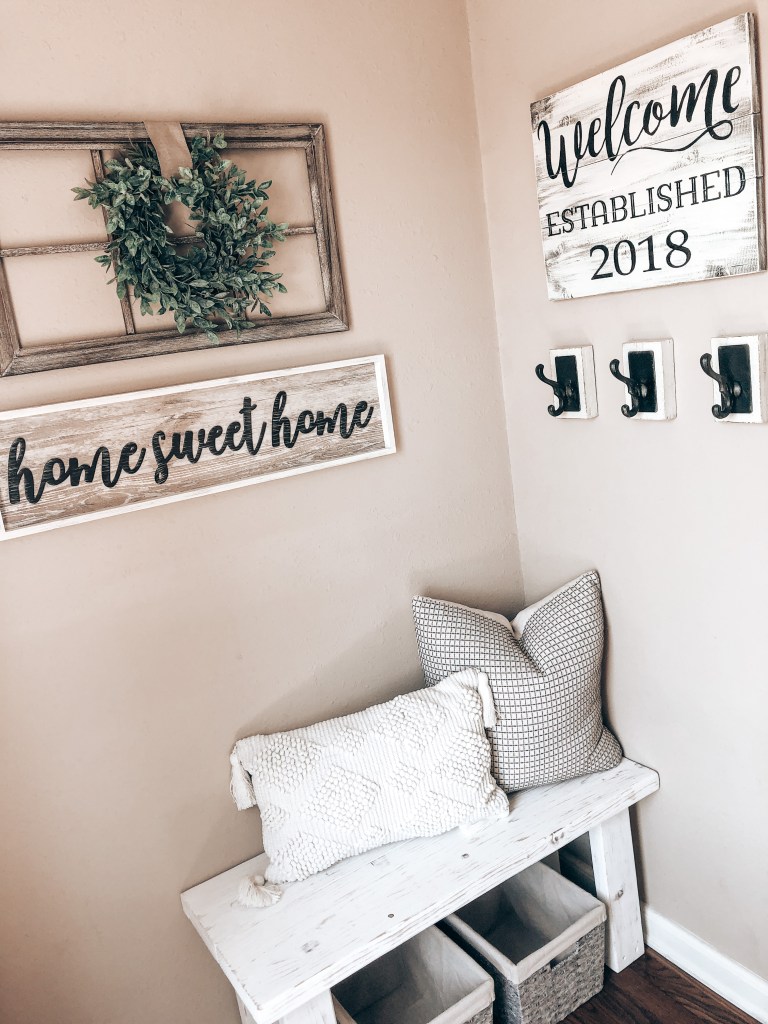
Ta-dah!! She’s finished! I love how the distressed look turned out and how it fits perfectly in our entryway space. Next up styling!

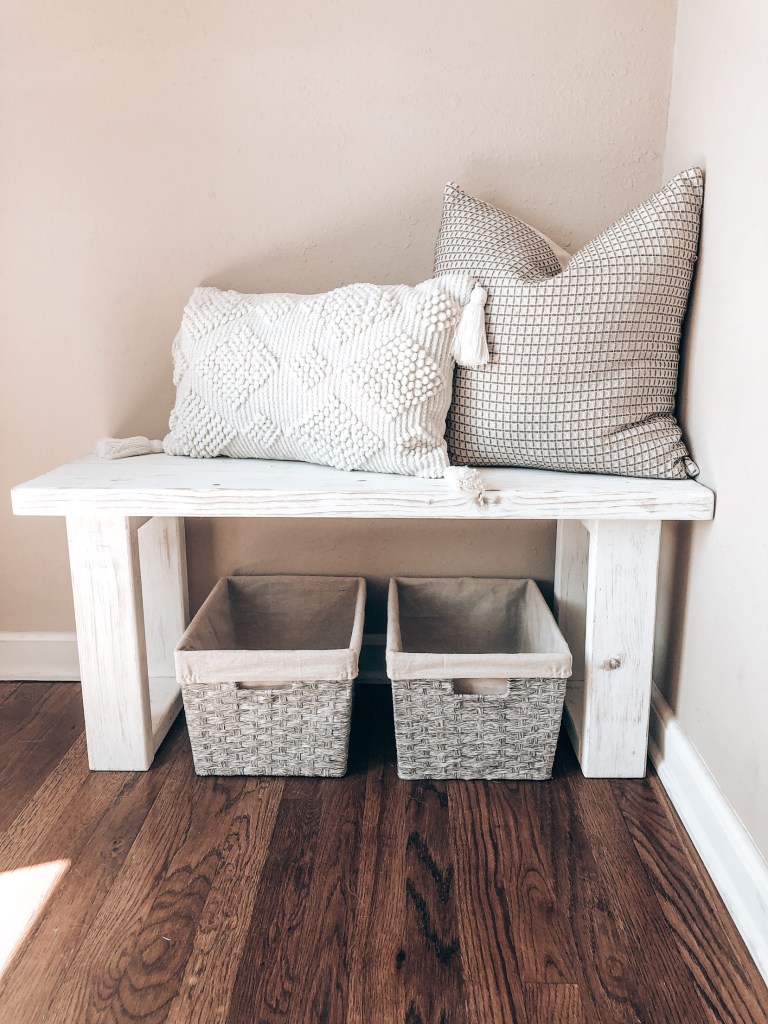
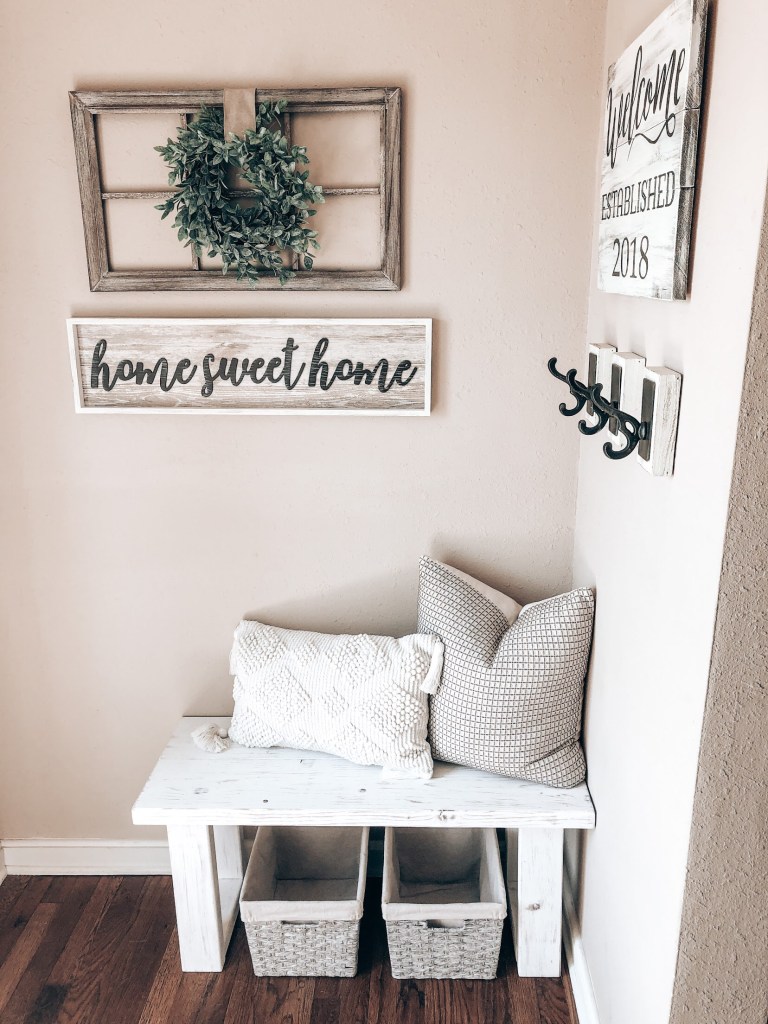
To fix the shoe pile, I purchased a pair of wicker baskets to place under the bench. Now, shoes are put away and can’t be destroyed by the pup! On top of the bench I added a 12×20 pillow and an 18×18 pillow with decorative neutral pillow covers. I plan to switch up the pillow cases to match the seasons and holidays. I can even envision a small Christmas tree beside the bench during Christmas! Our guests not only love the look of this newly styled space, but love the functionality of it while entering and leaving our home.
Thanks for stopping by to read about our latest DIY project! Until next time, friends!