DIY Stocking Tags

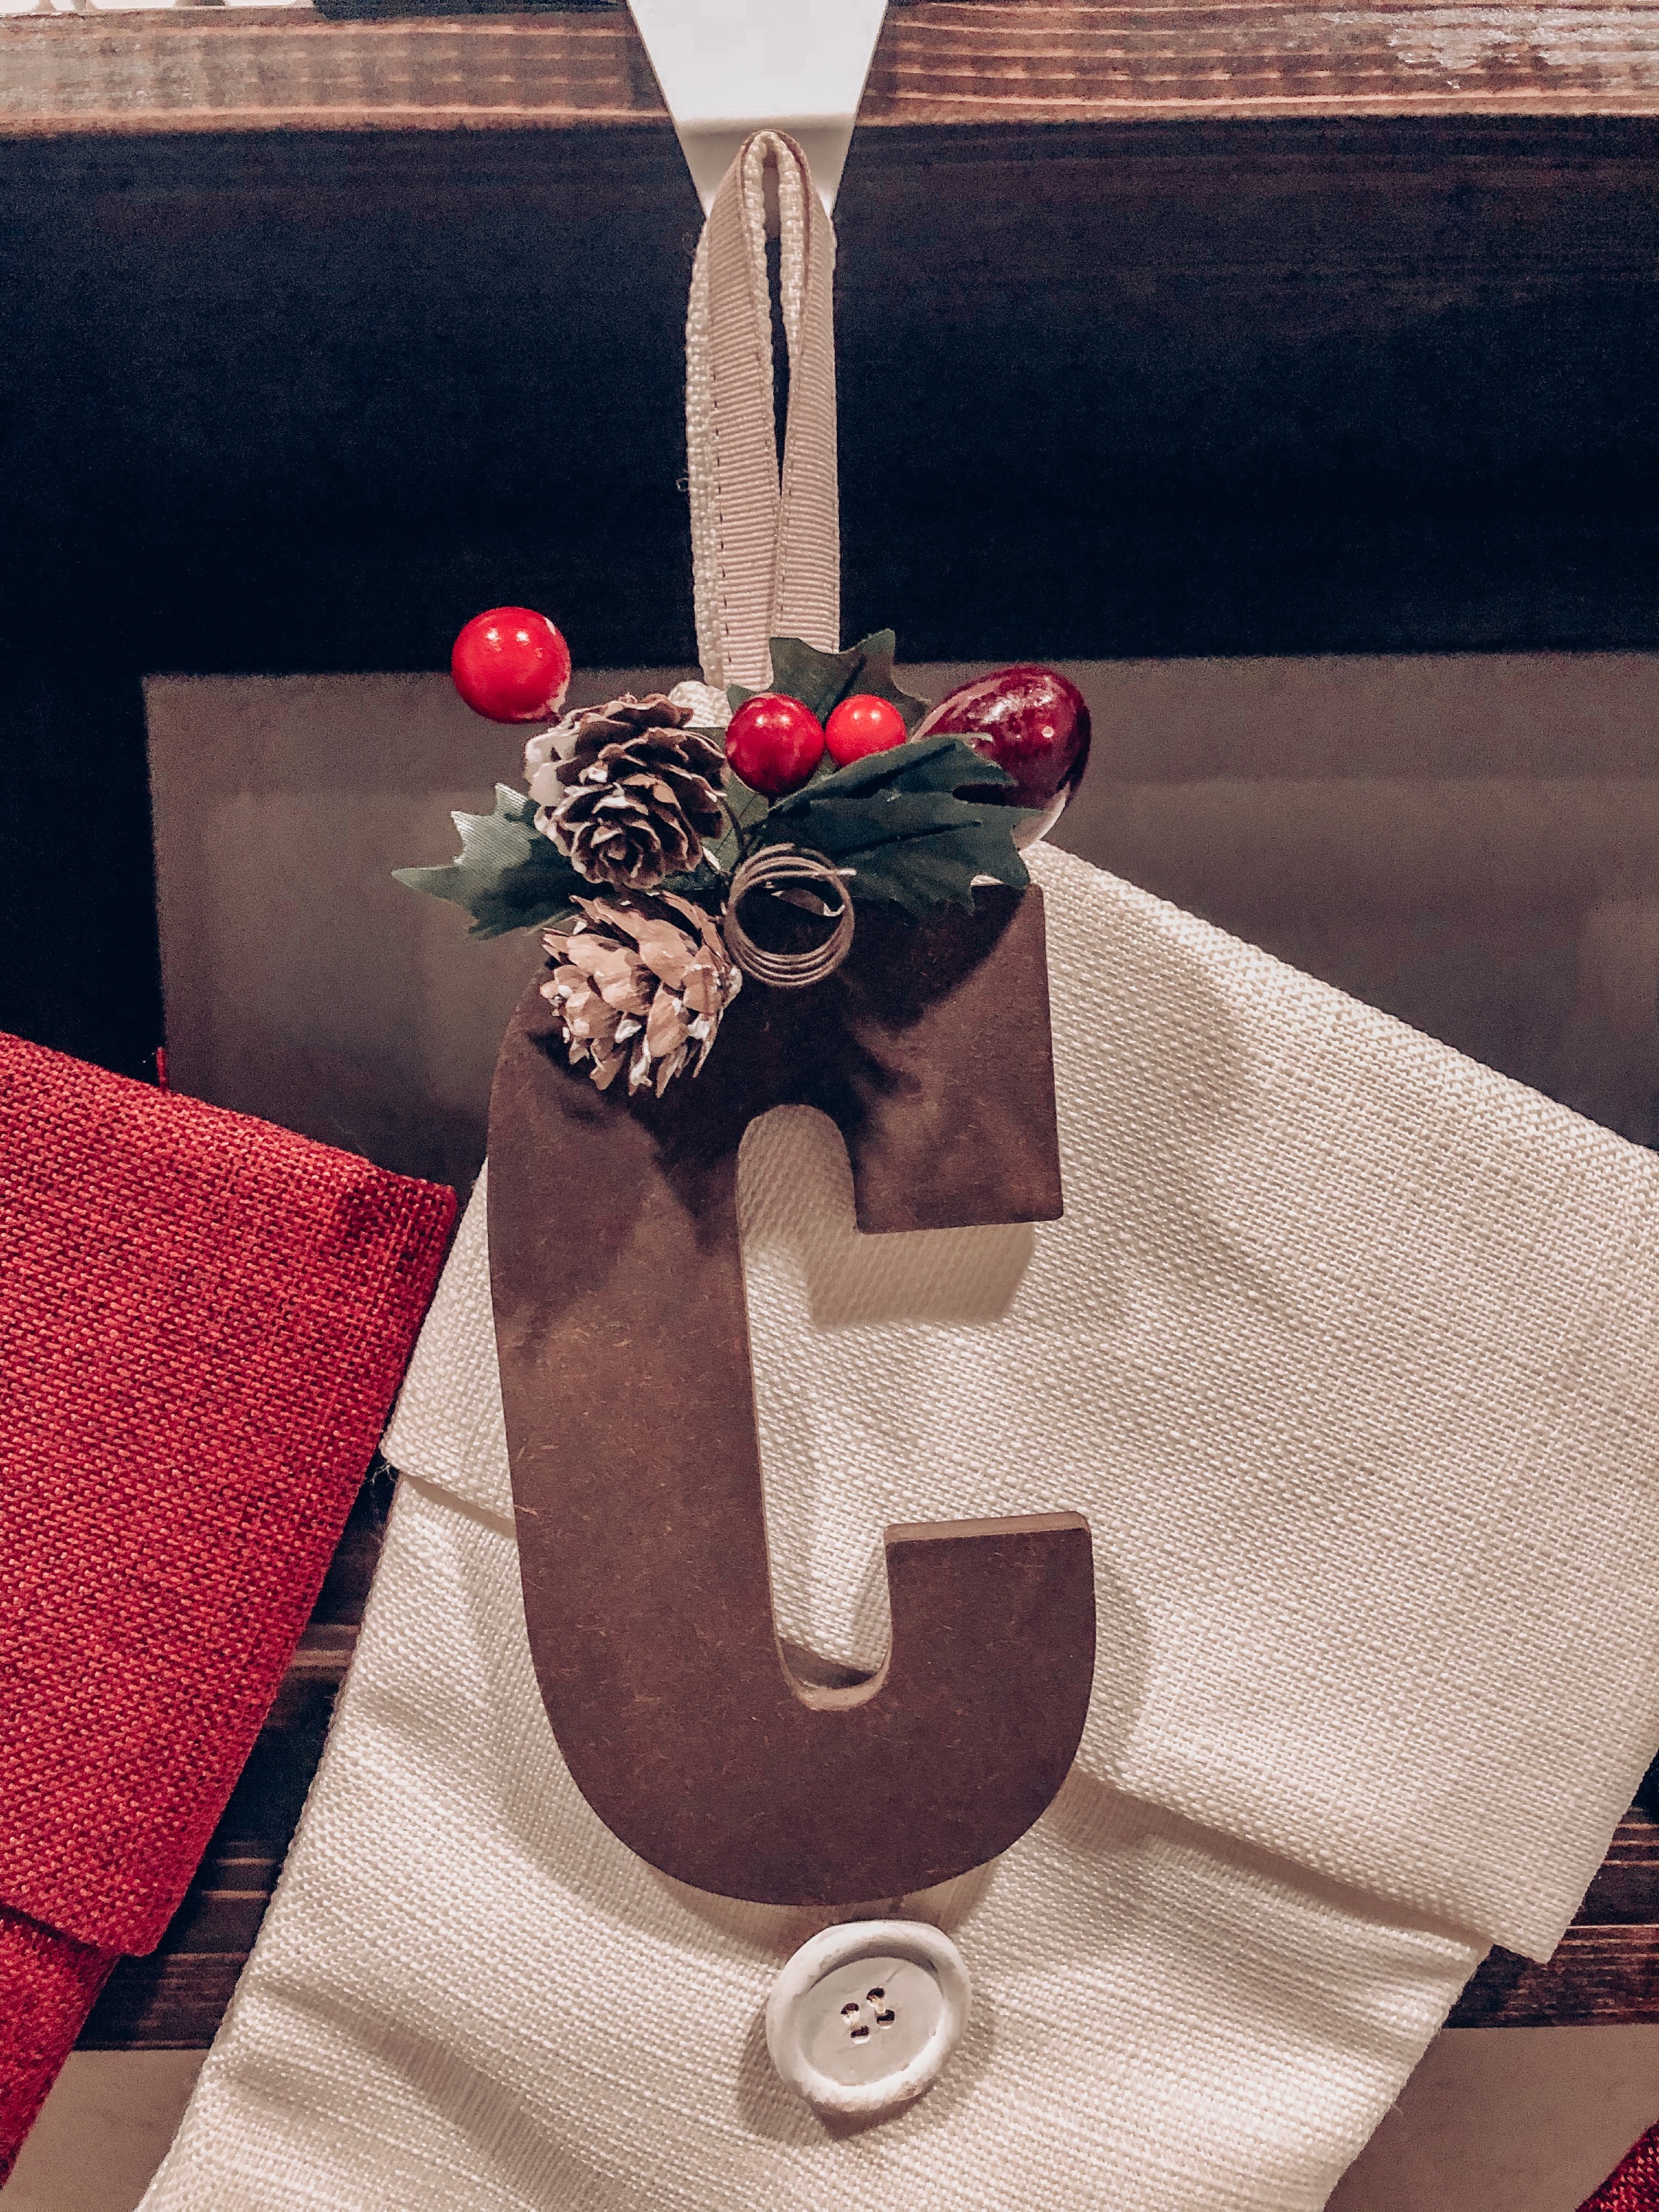
As a child, one of my Christmas morning memories was seeing our stockings overflow with several tiny, wrapped gifts. My family’s red and white striped stockings had our names embroidered on them, and each year my brother and I would excitedly take them out of the Christmas decor box and hang each of them in their own special place. On Christmas morning, we ran toward our stockings of goodies first before opening our other gifts. 

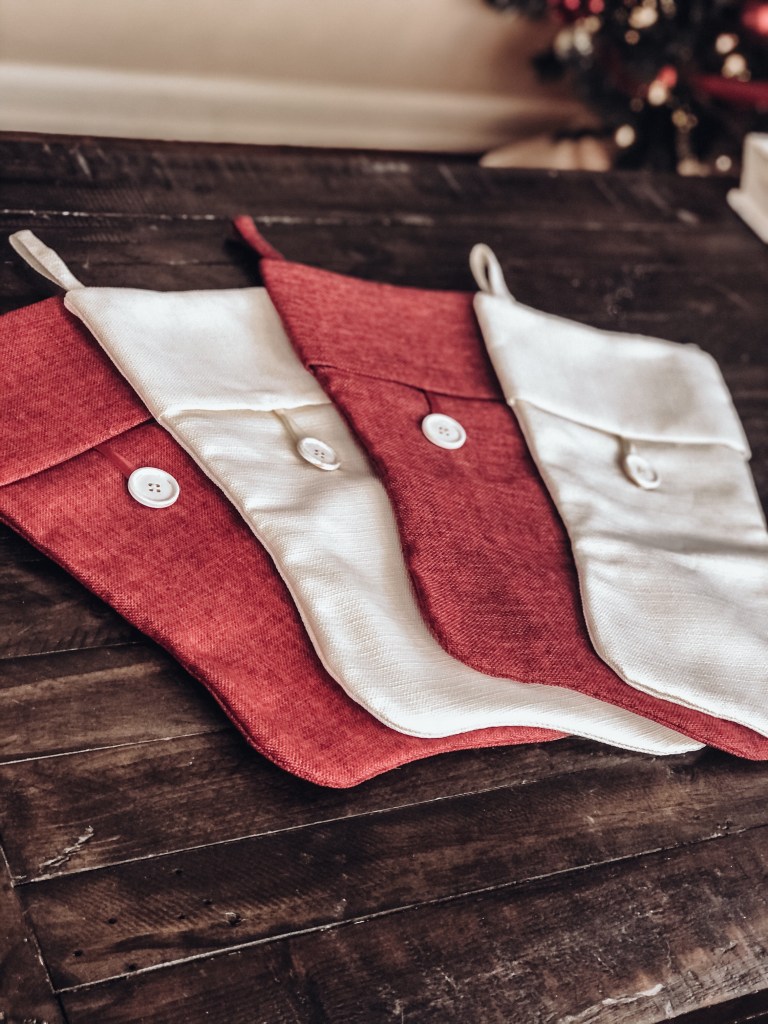
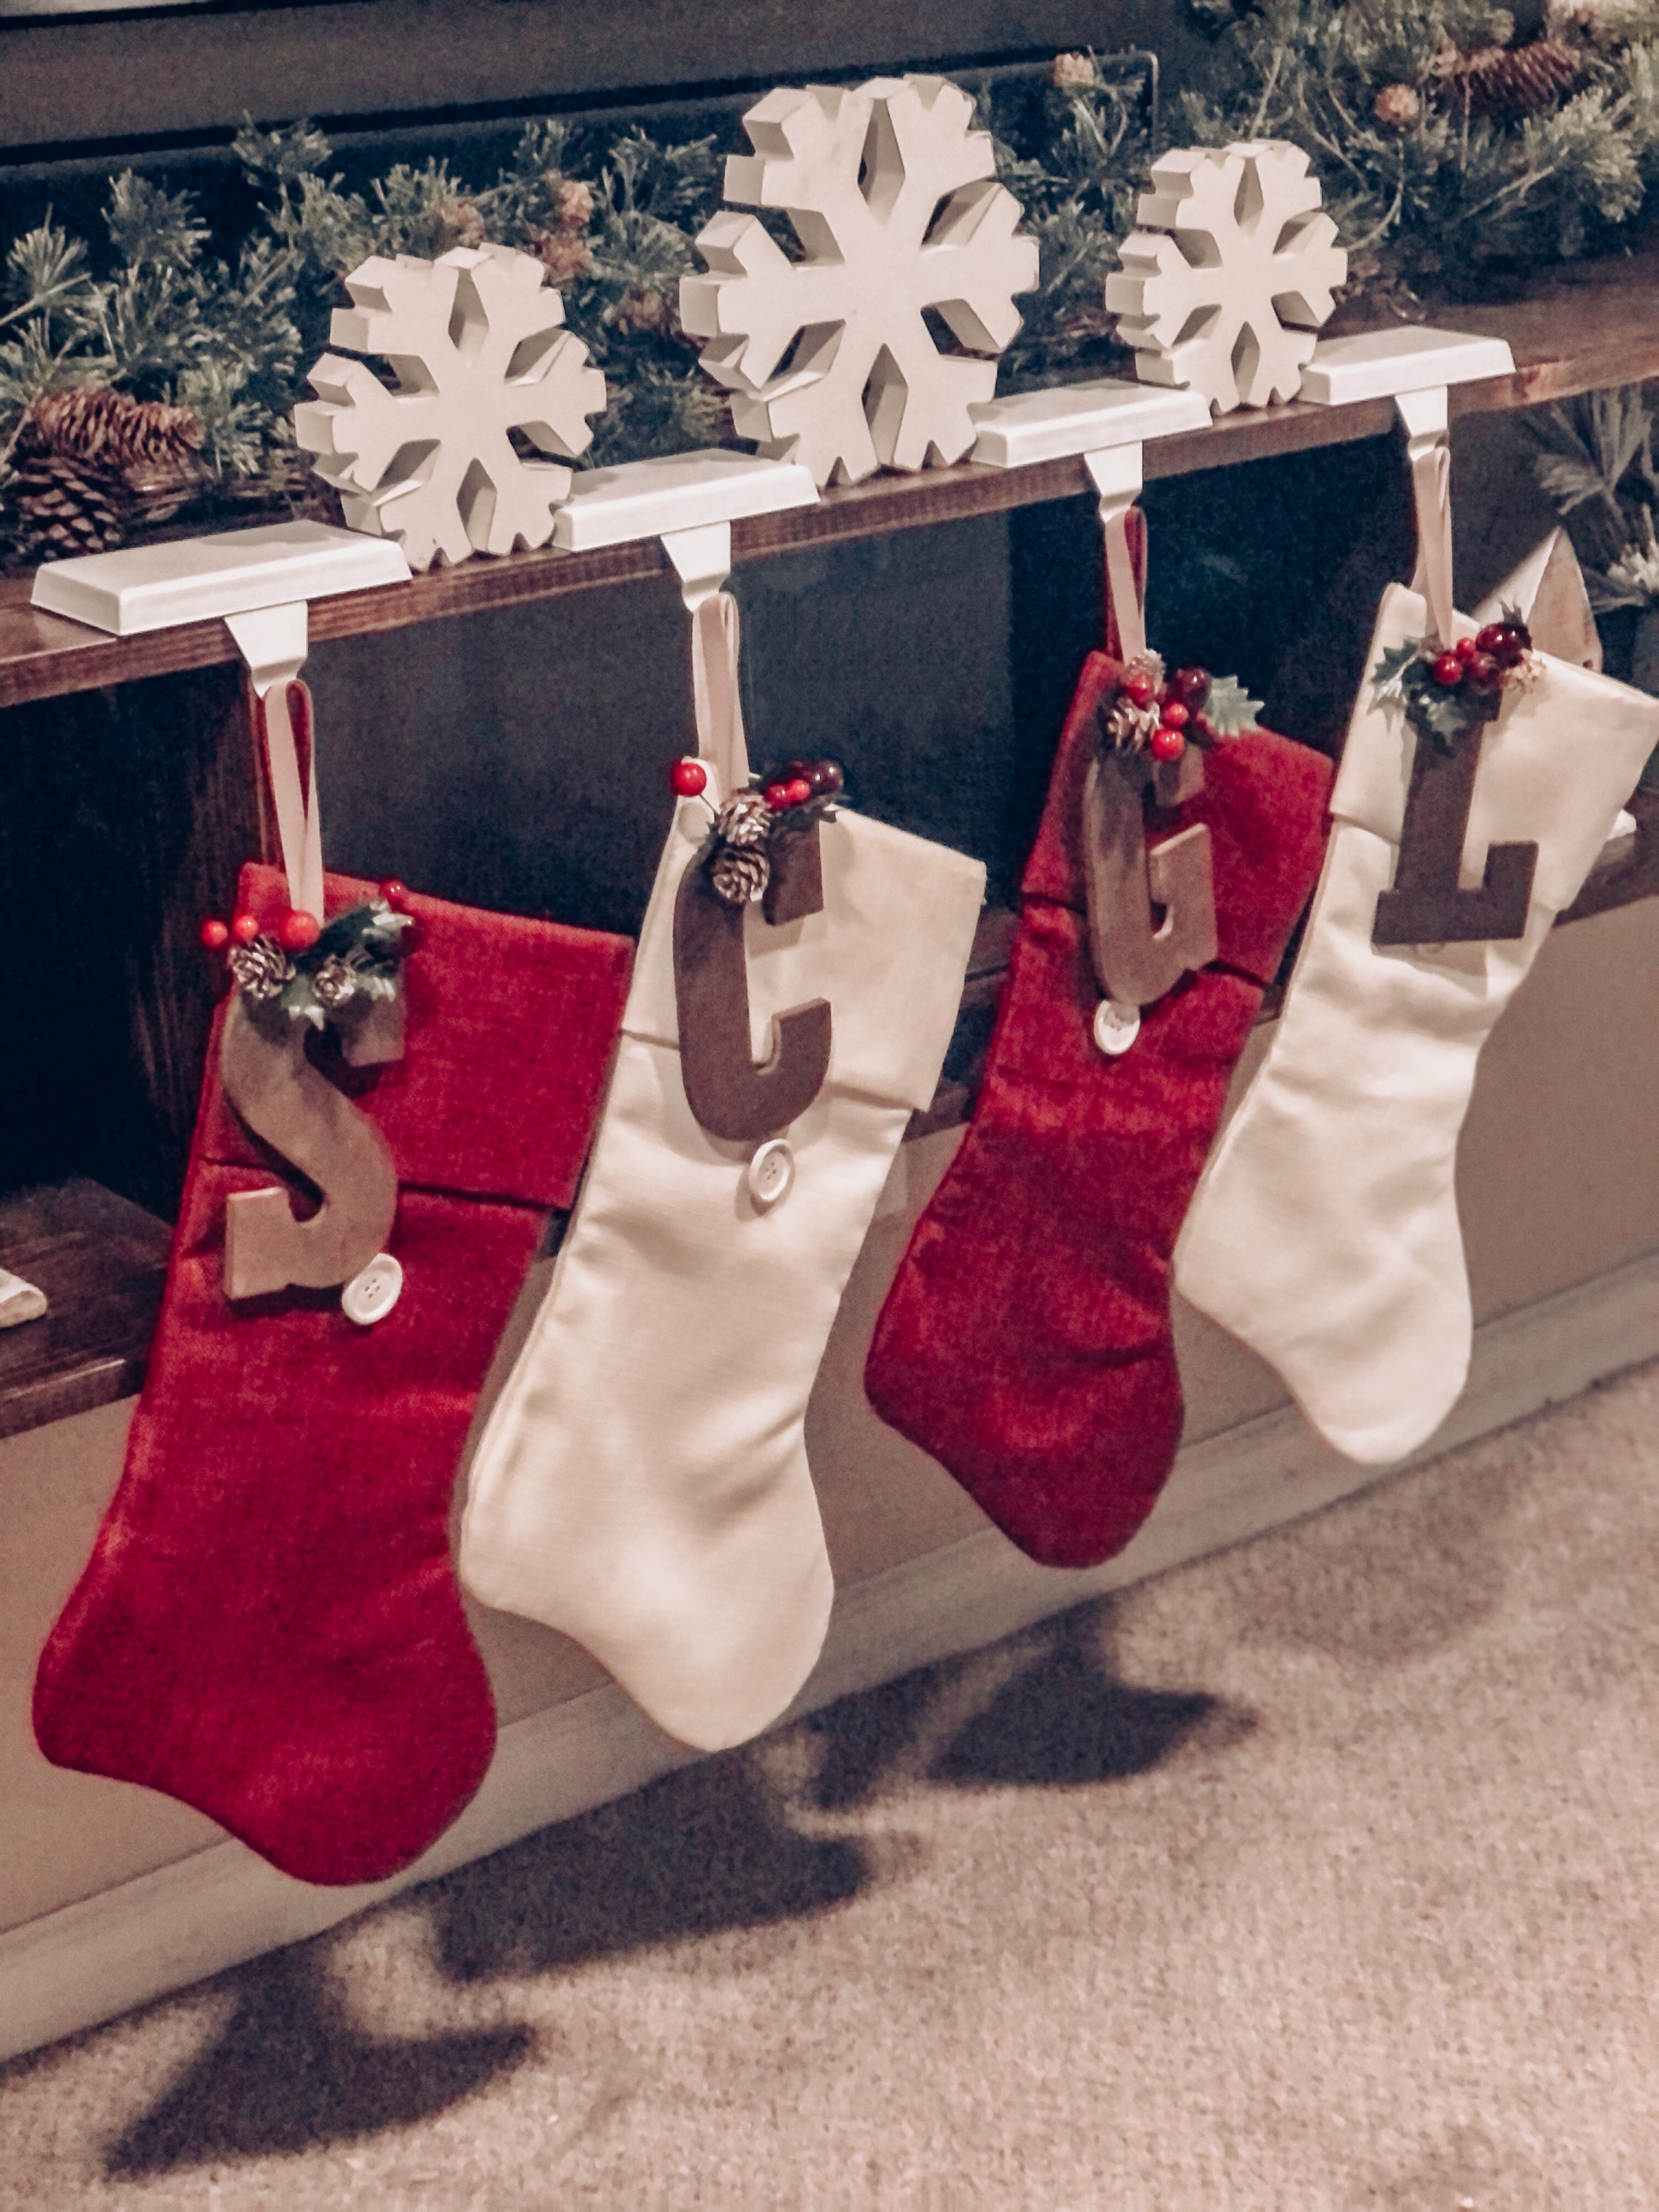
Now that I have my own home and Christmas decor to deck the halls, I’ve discovered I love to add details to stockings to incorporate them into my decor themes and to personalize them for each member of the family like I had as a child. Yes, even the dogs get their own stockings! These simple red and white stockings that I purchased from Hobby Lobby would fit perfectly with a variety of Christmas decor styles, and are simple enough to go with any personalization you choose.

While searching for inspiration for my own personalized stocking tags, I had seen several varieties of wooden name tags with the names written in beautiful calligraphy. Although I loved the look of those, I am not a calligrapher by any means and I wanted to create something with a similar wooden look myself.

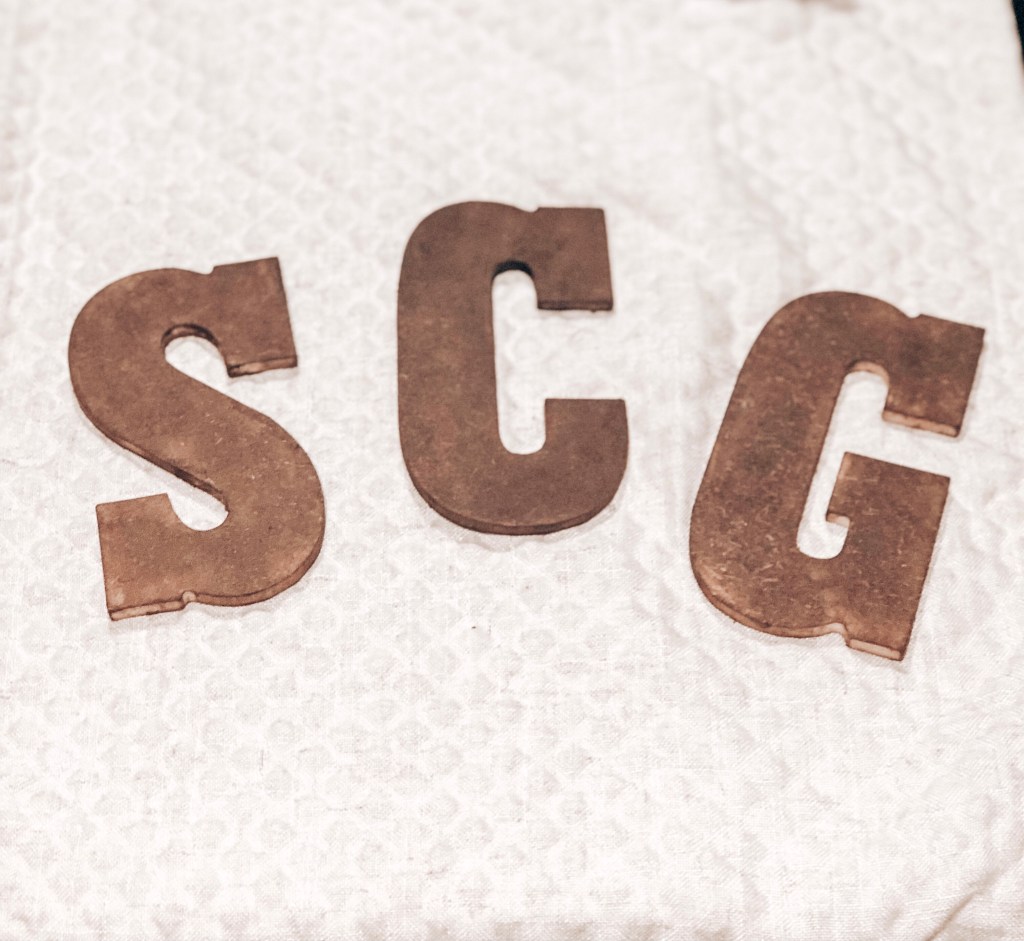
Instead, on one of my many Hobby Lobby runs I stumbled upon and purchased these little wooden letters for $1.49. Unfortunately, the specific ones I used have been discontinued, but here are similar wooden letters for the same price.

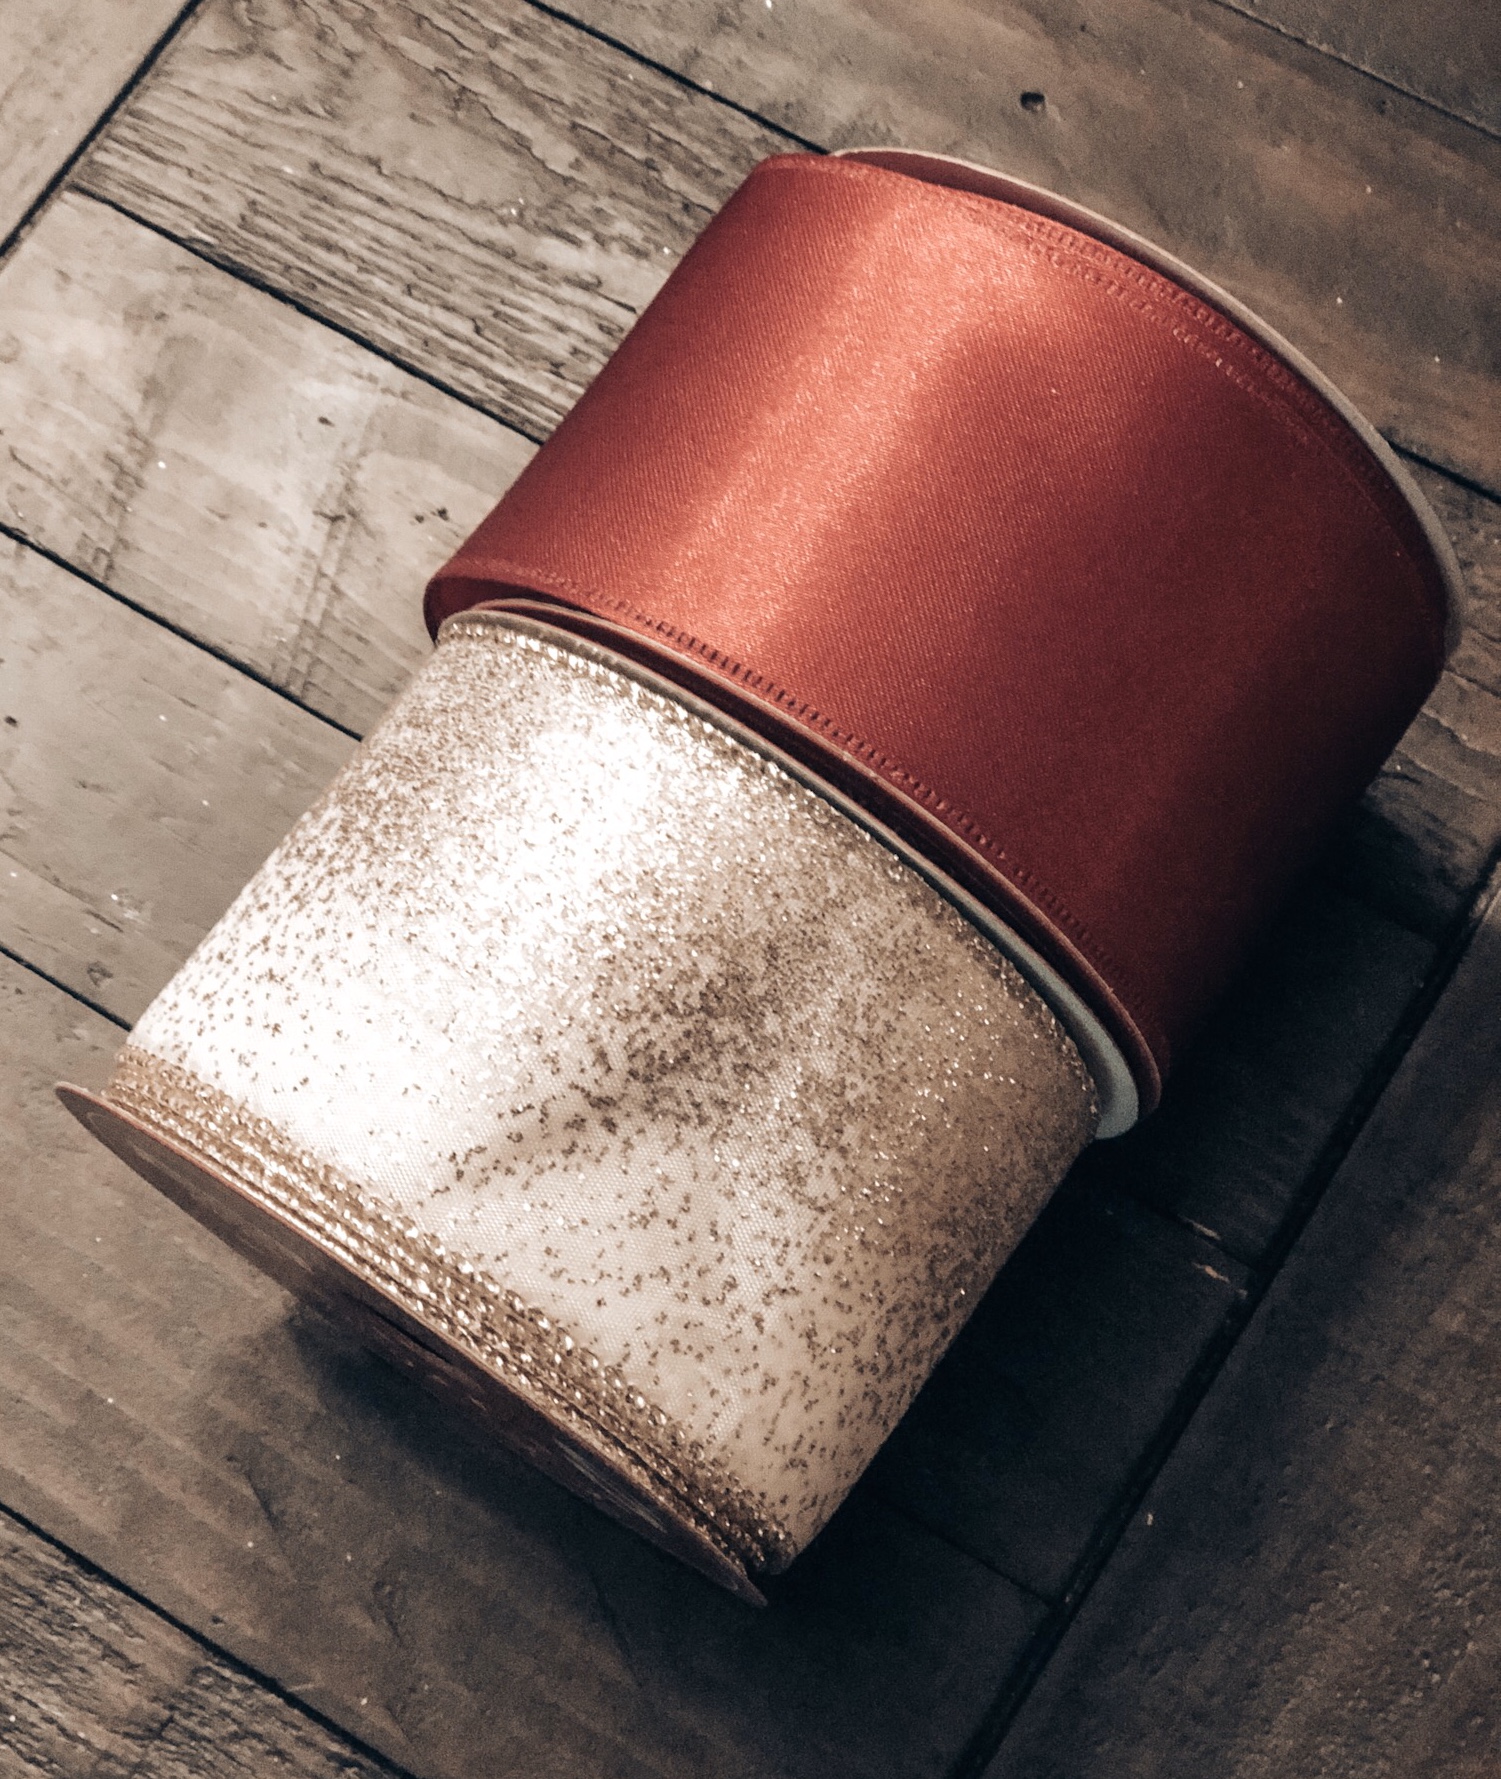
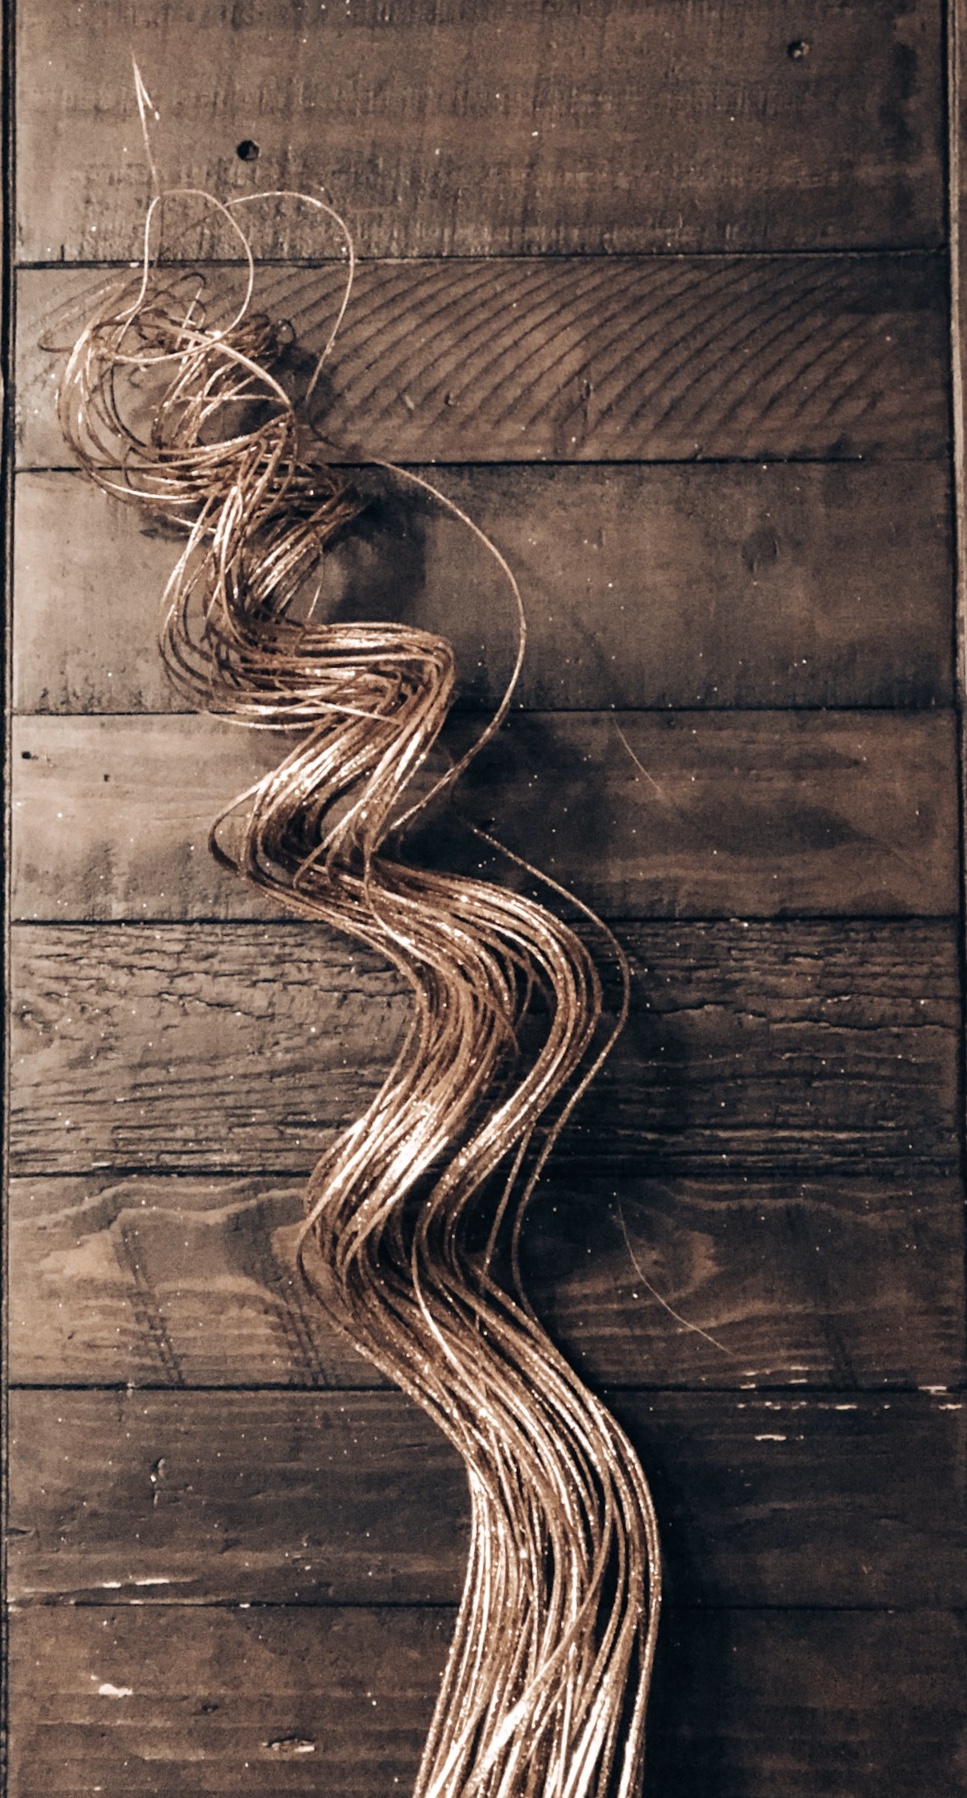
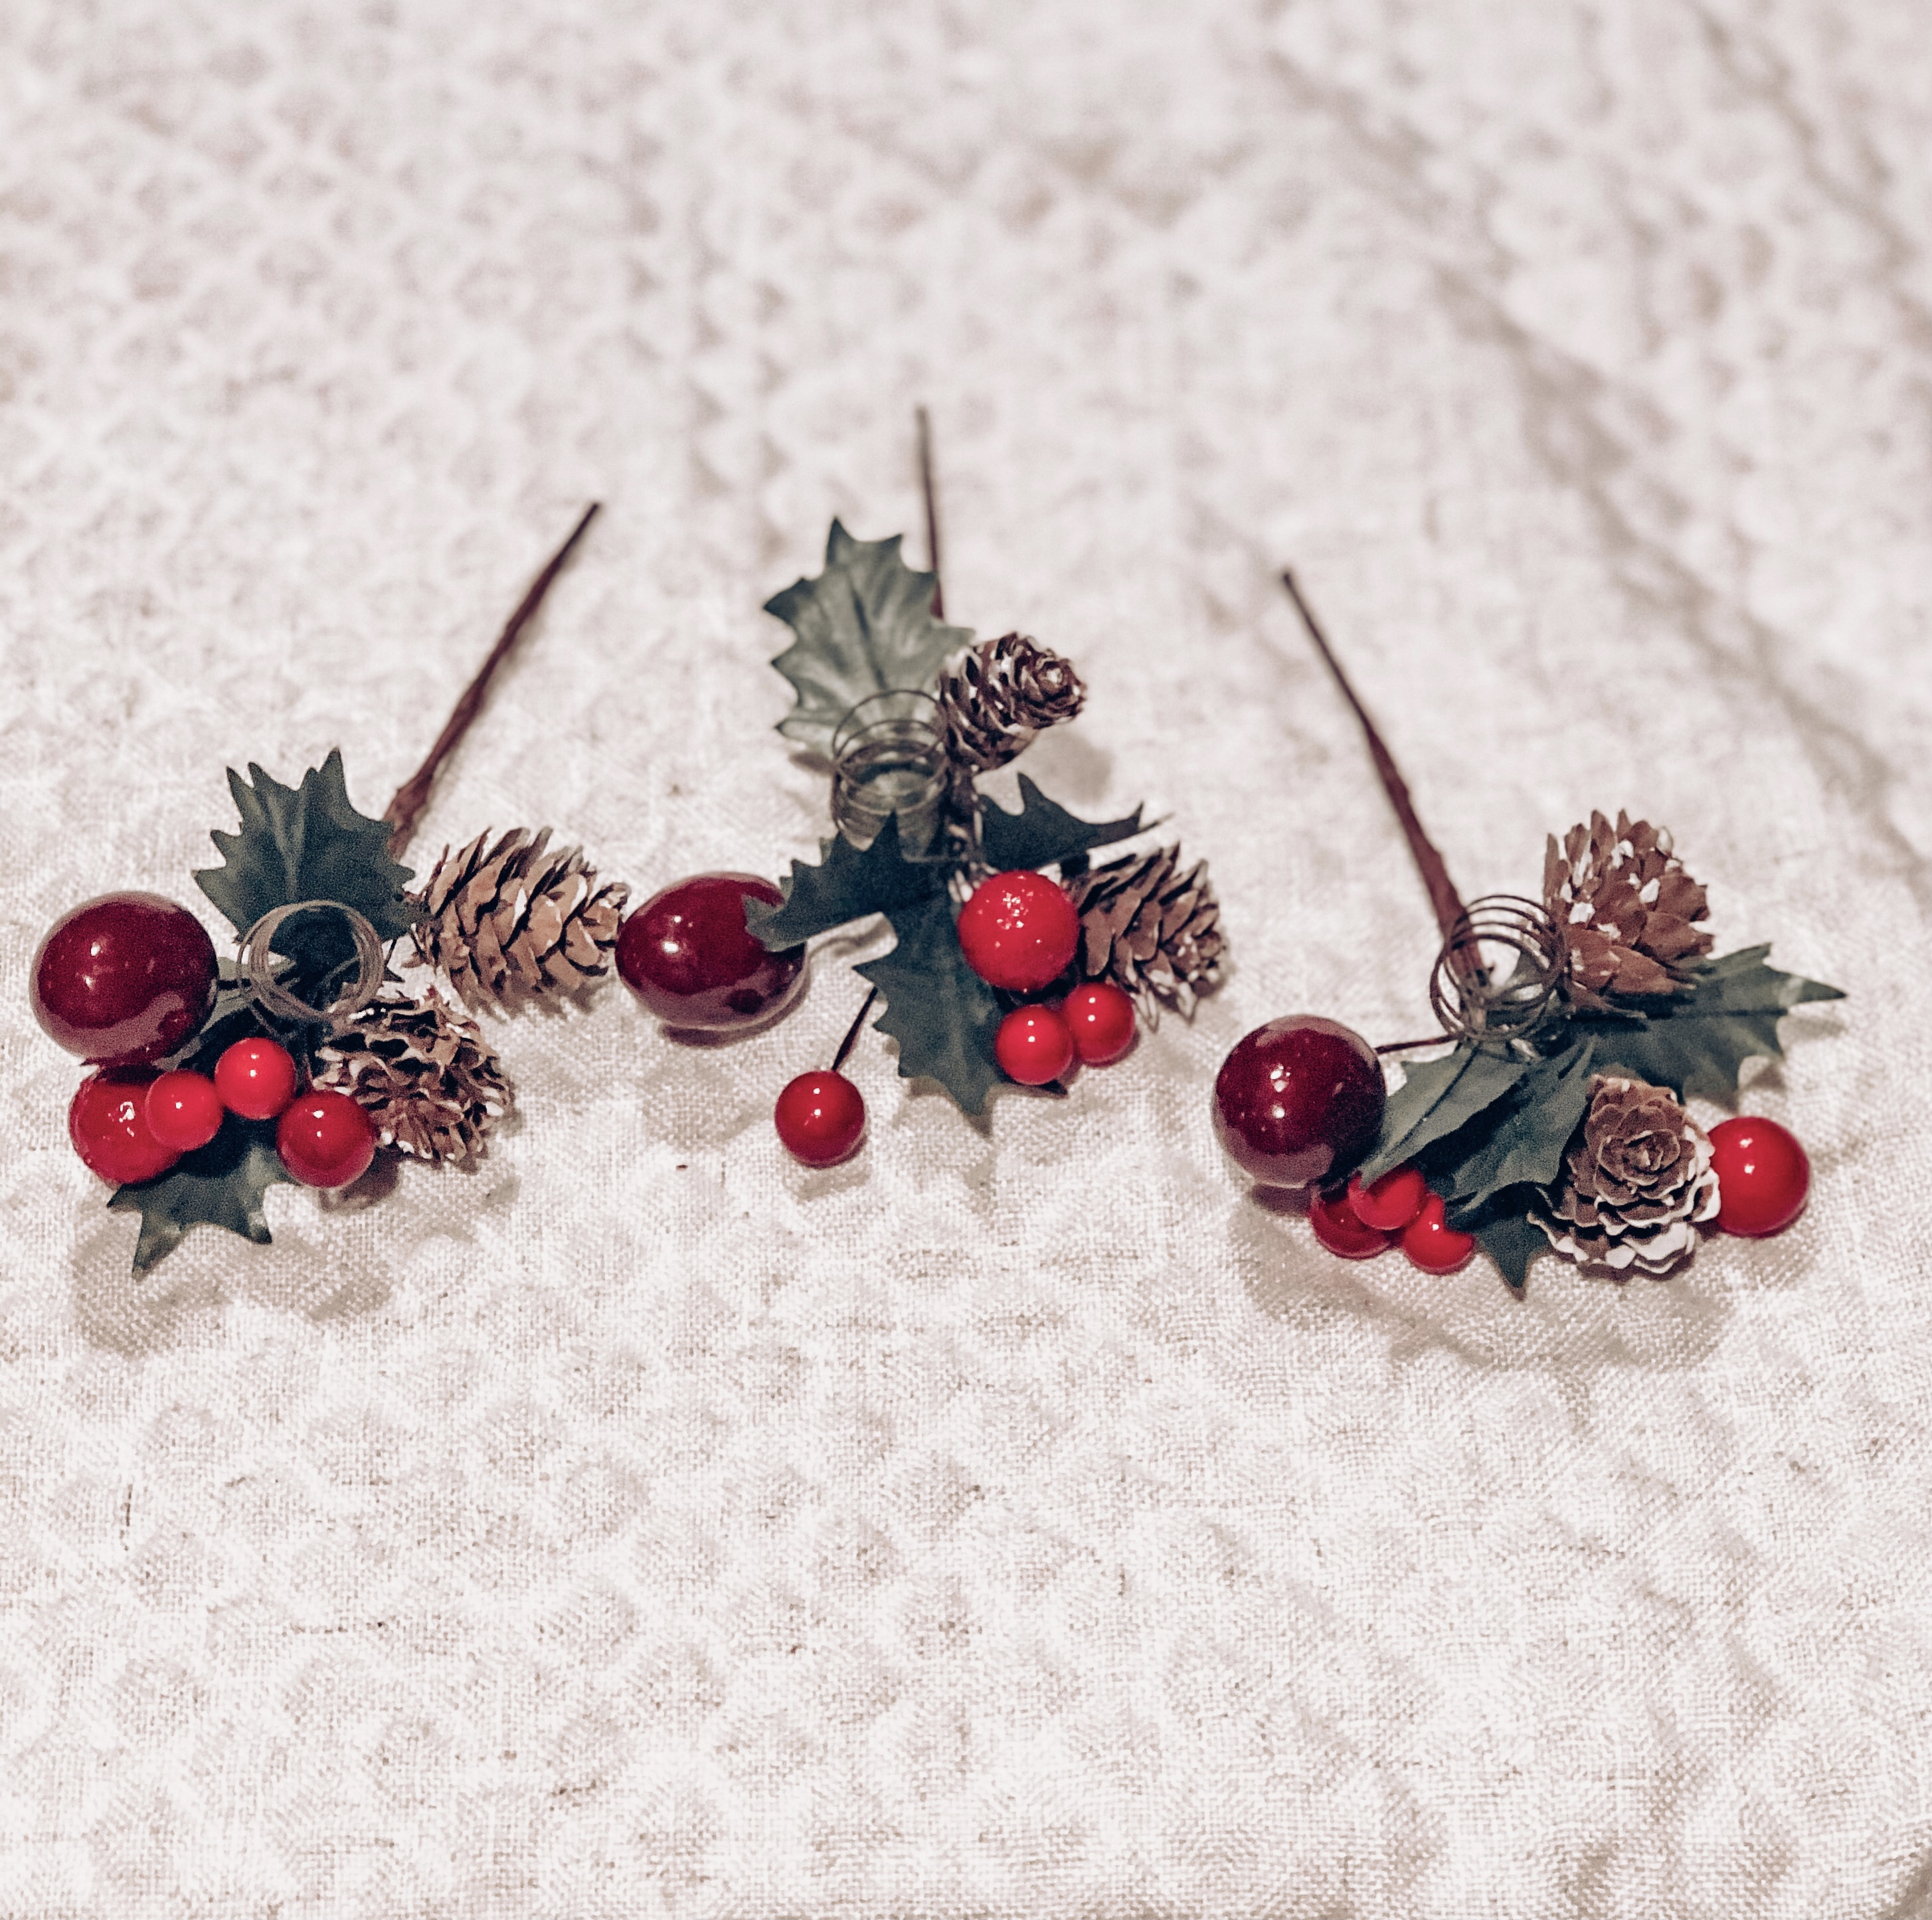
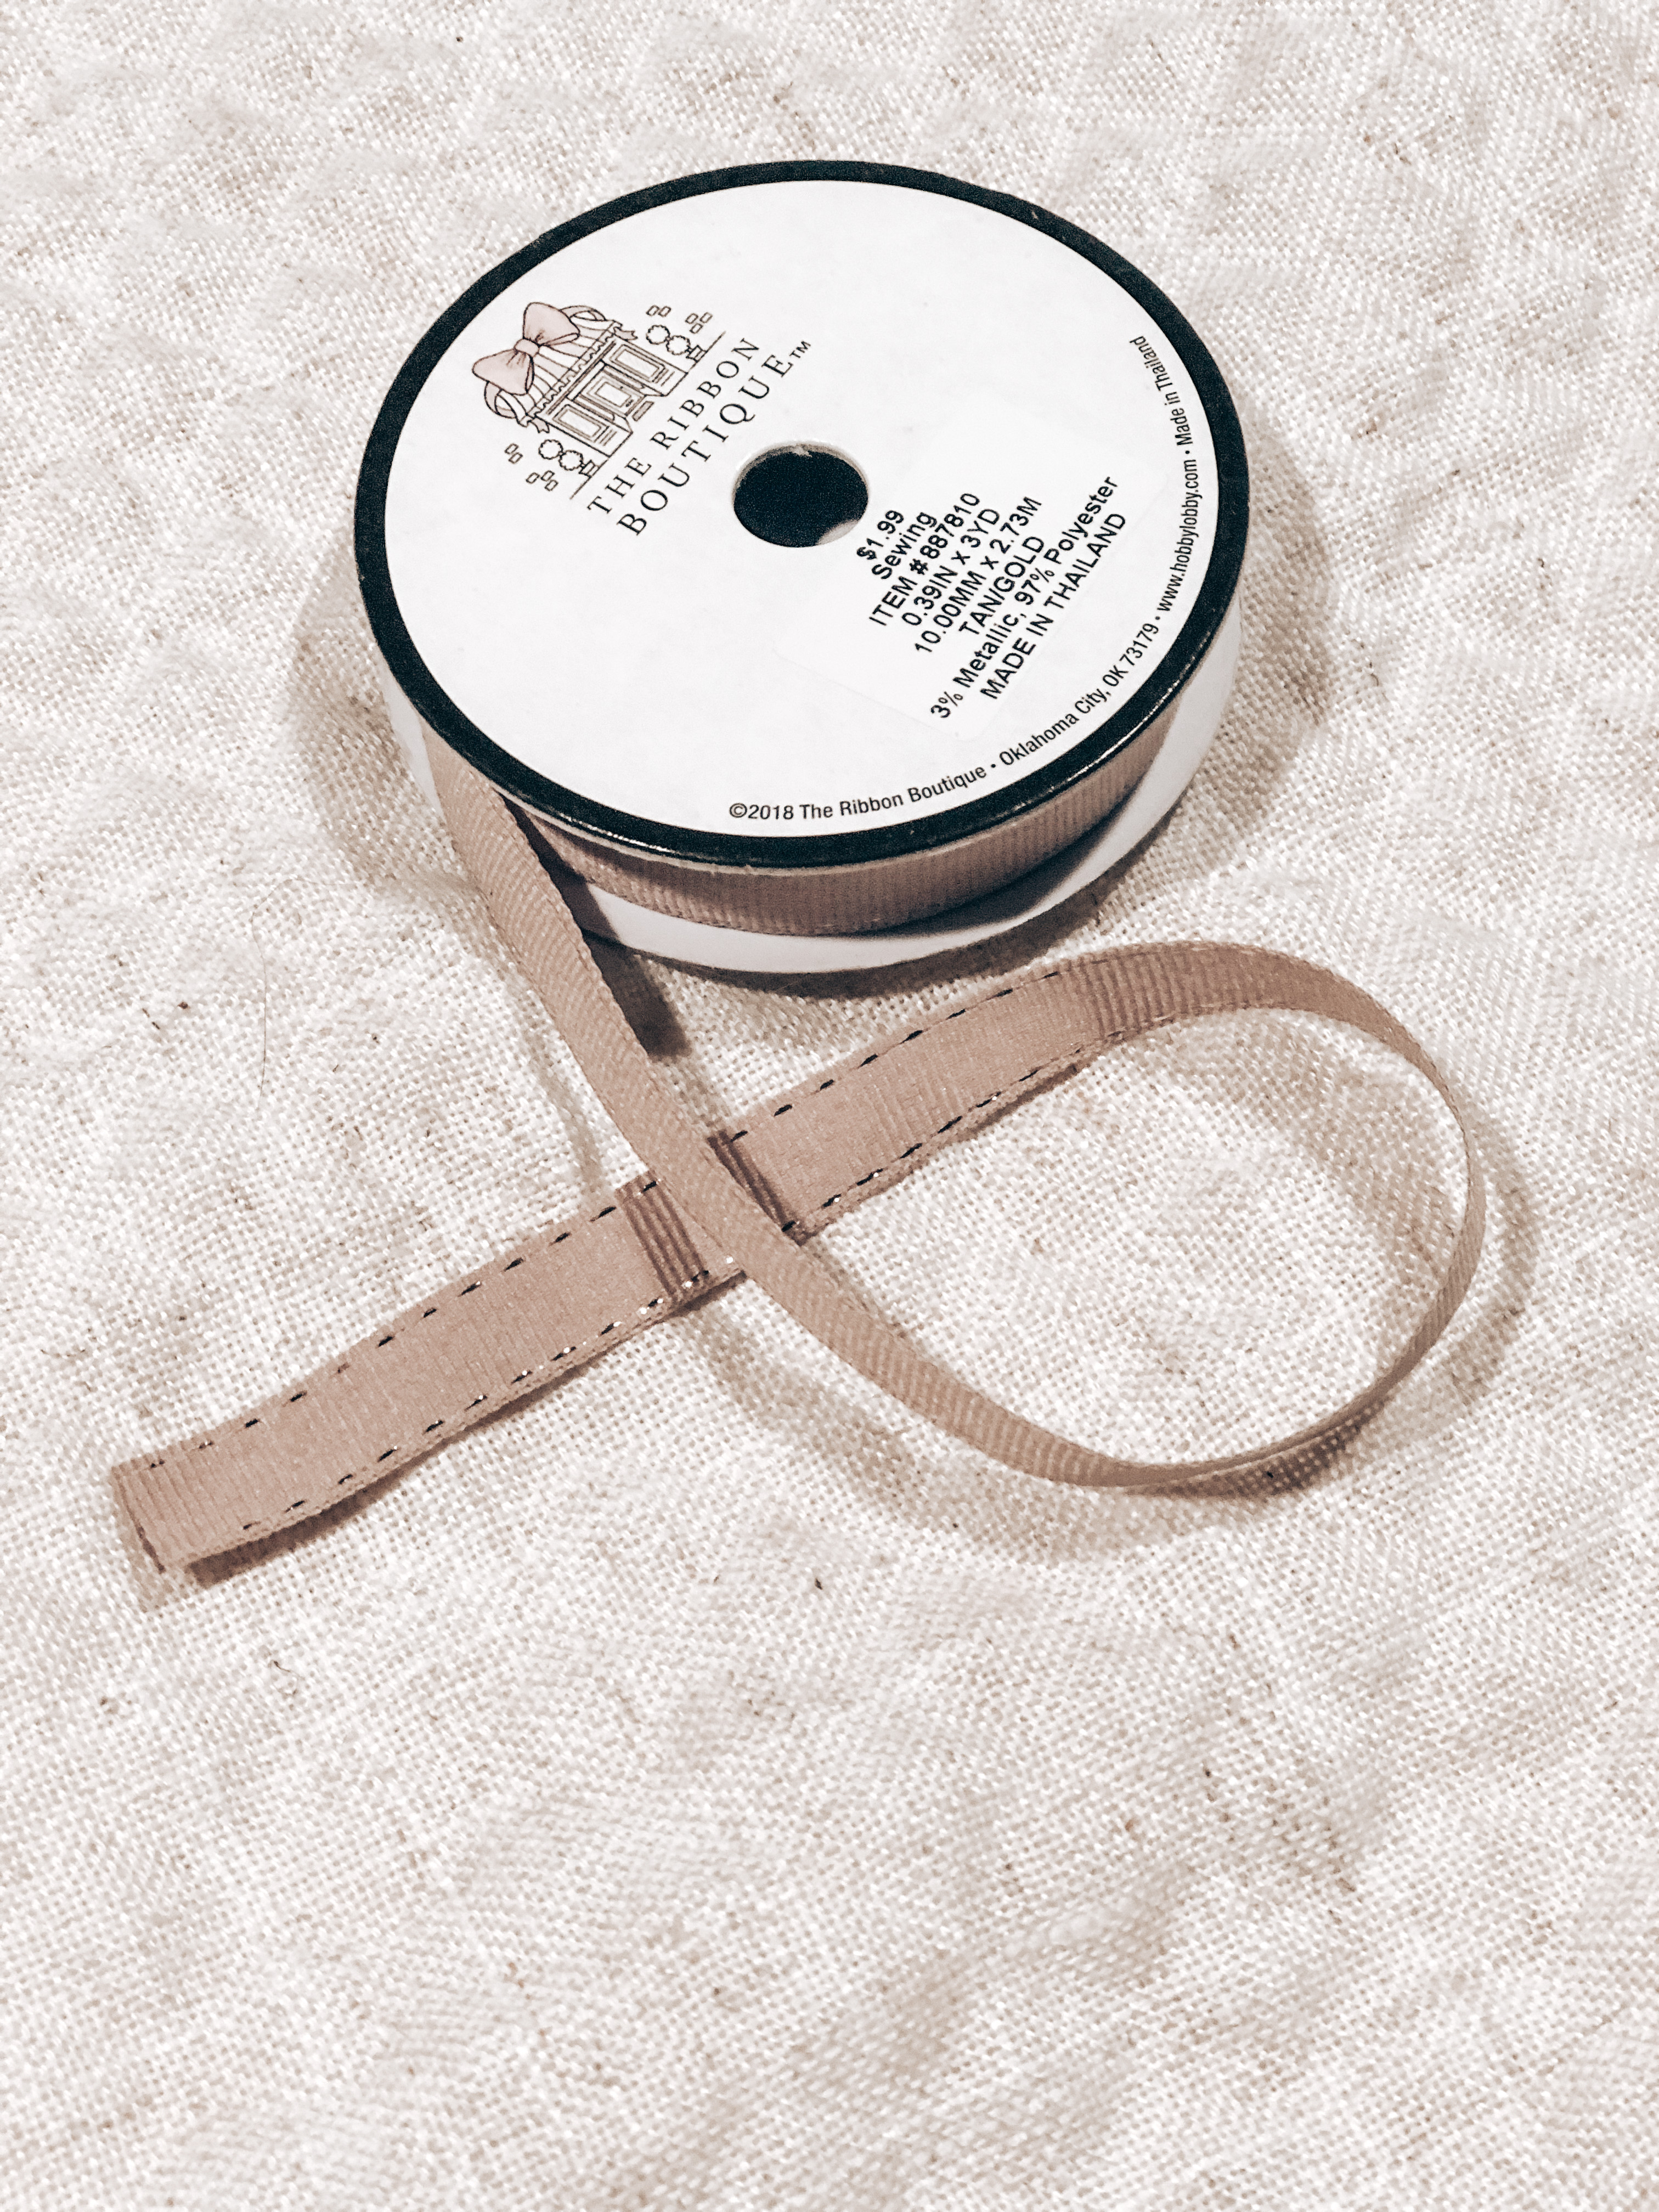
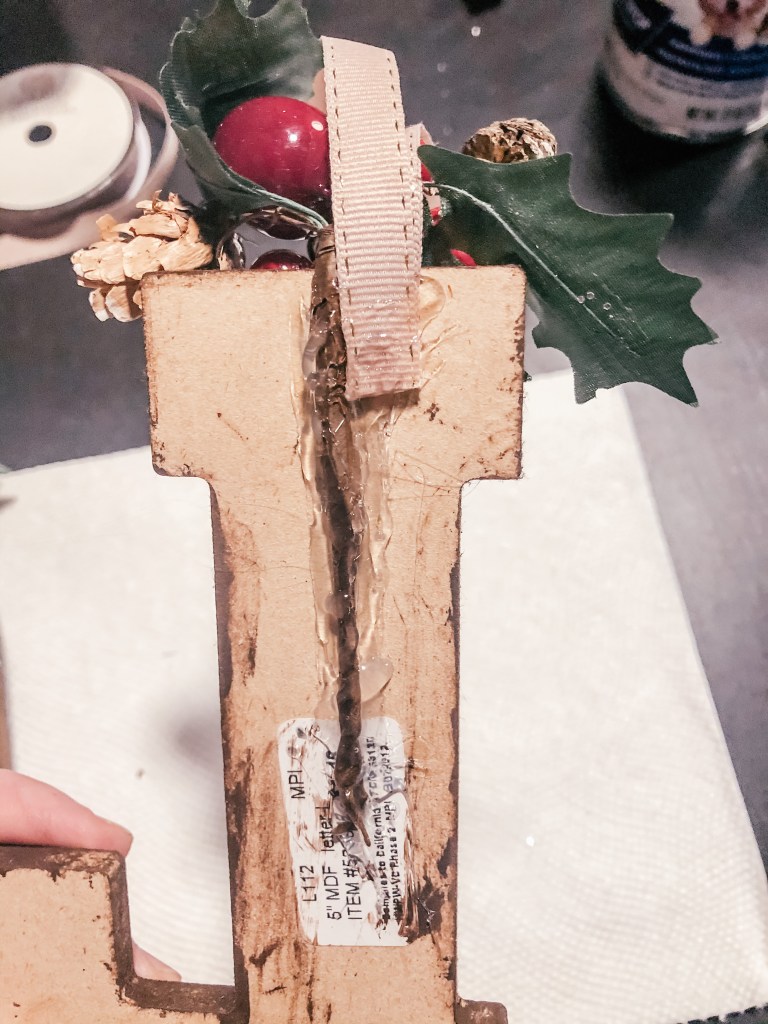
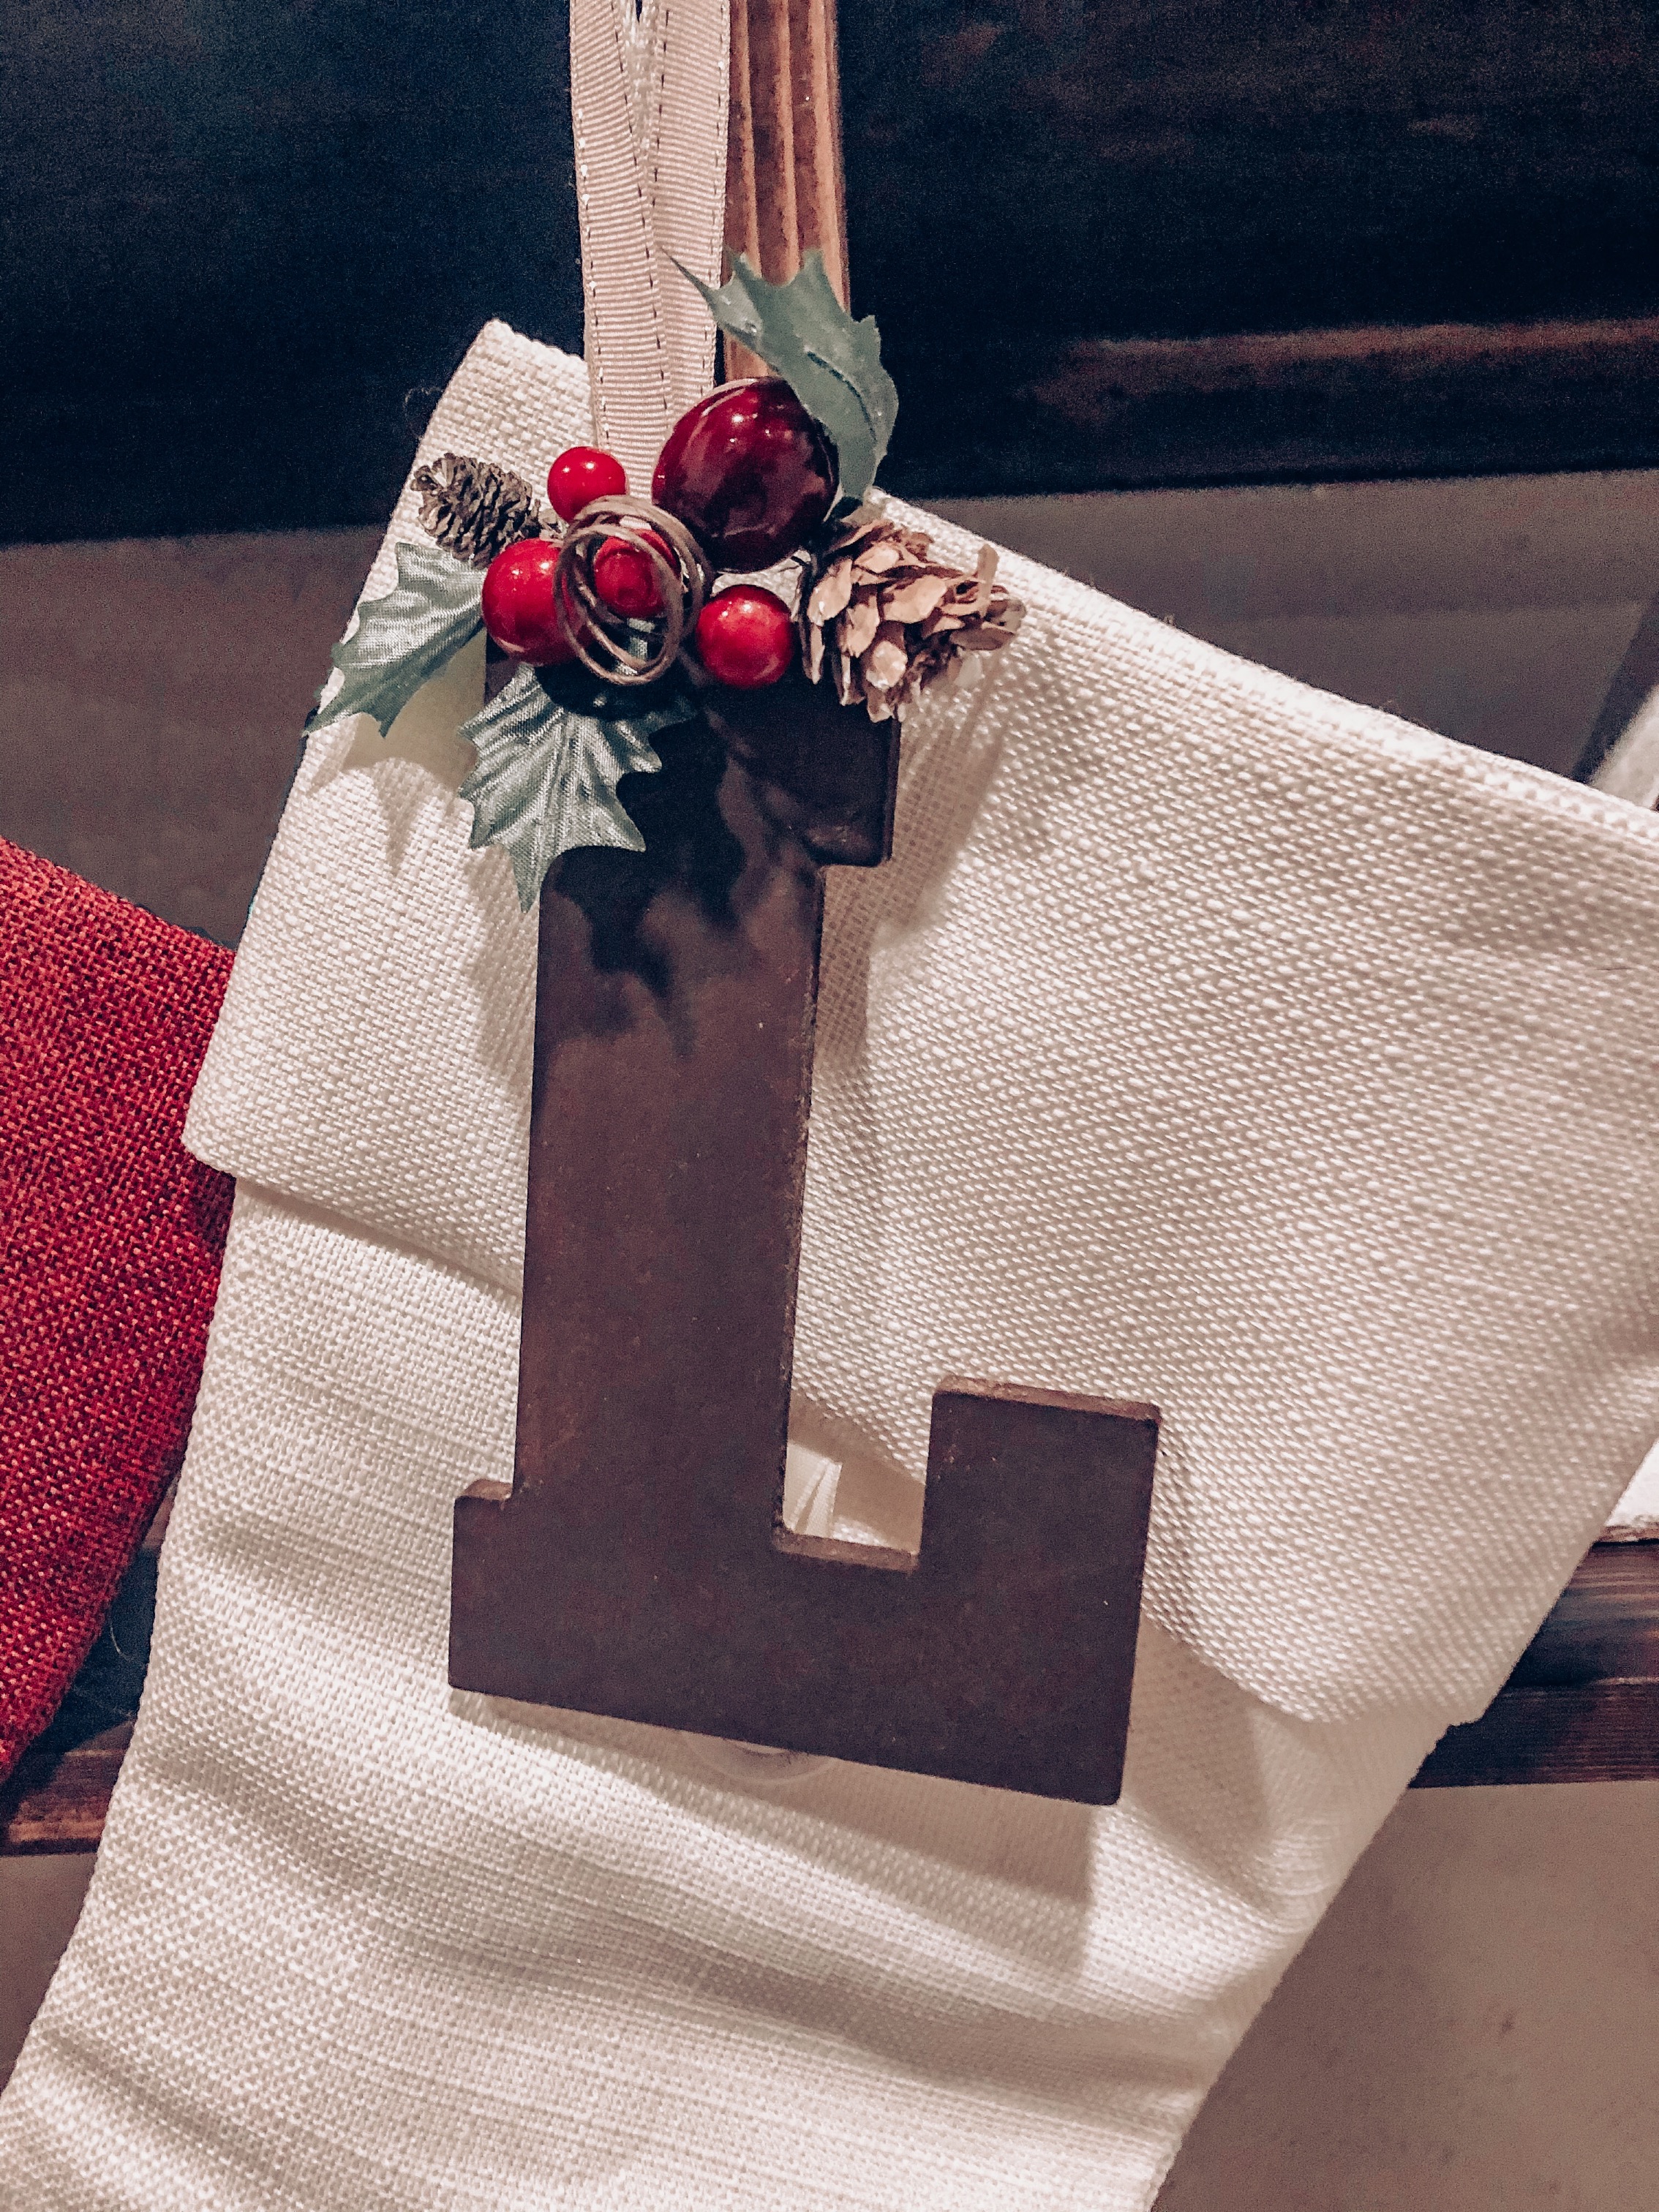
To add some Christmas flair and dimension to the stocking tags, I found tiny Christmas floral stems with berries and pinecones. I also picked out some neutral, rustic-looking ribbon to attach to the top of the letters so they can hang from the stocking hooks.

To achieve a darker wooden look, I used some of the wood stain we had from other DIY projects (Varathane Premium Fast Dry Wood Stain in Dark Walnut). To apply, I dipped a small section of a rag into the stain and spread the stain over the front of each letter. To give the letters a more rustic look, I intentionally used a lighter hand with the rag so that some of the areas are uneven and unstained. If you are looking to make a tag with a pop of color, acrylic paints would work great with these letters as well.

When the stain was dry, I used a glue gun to attach the floral to the top of each letter. Since the floral stems have wire in them, they are easy to bend over the top of the letters and maneuver the stem down the back. It’s okay that the back looks unfinished and messy, the tags lay nicely against the stocking so only the front is seen.

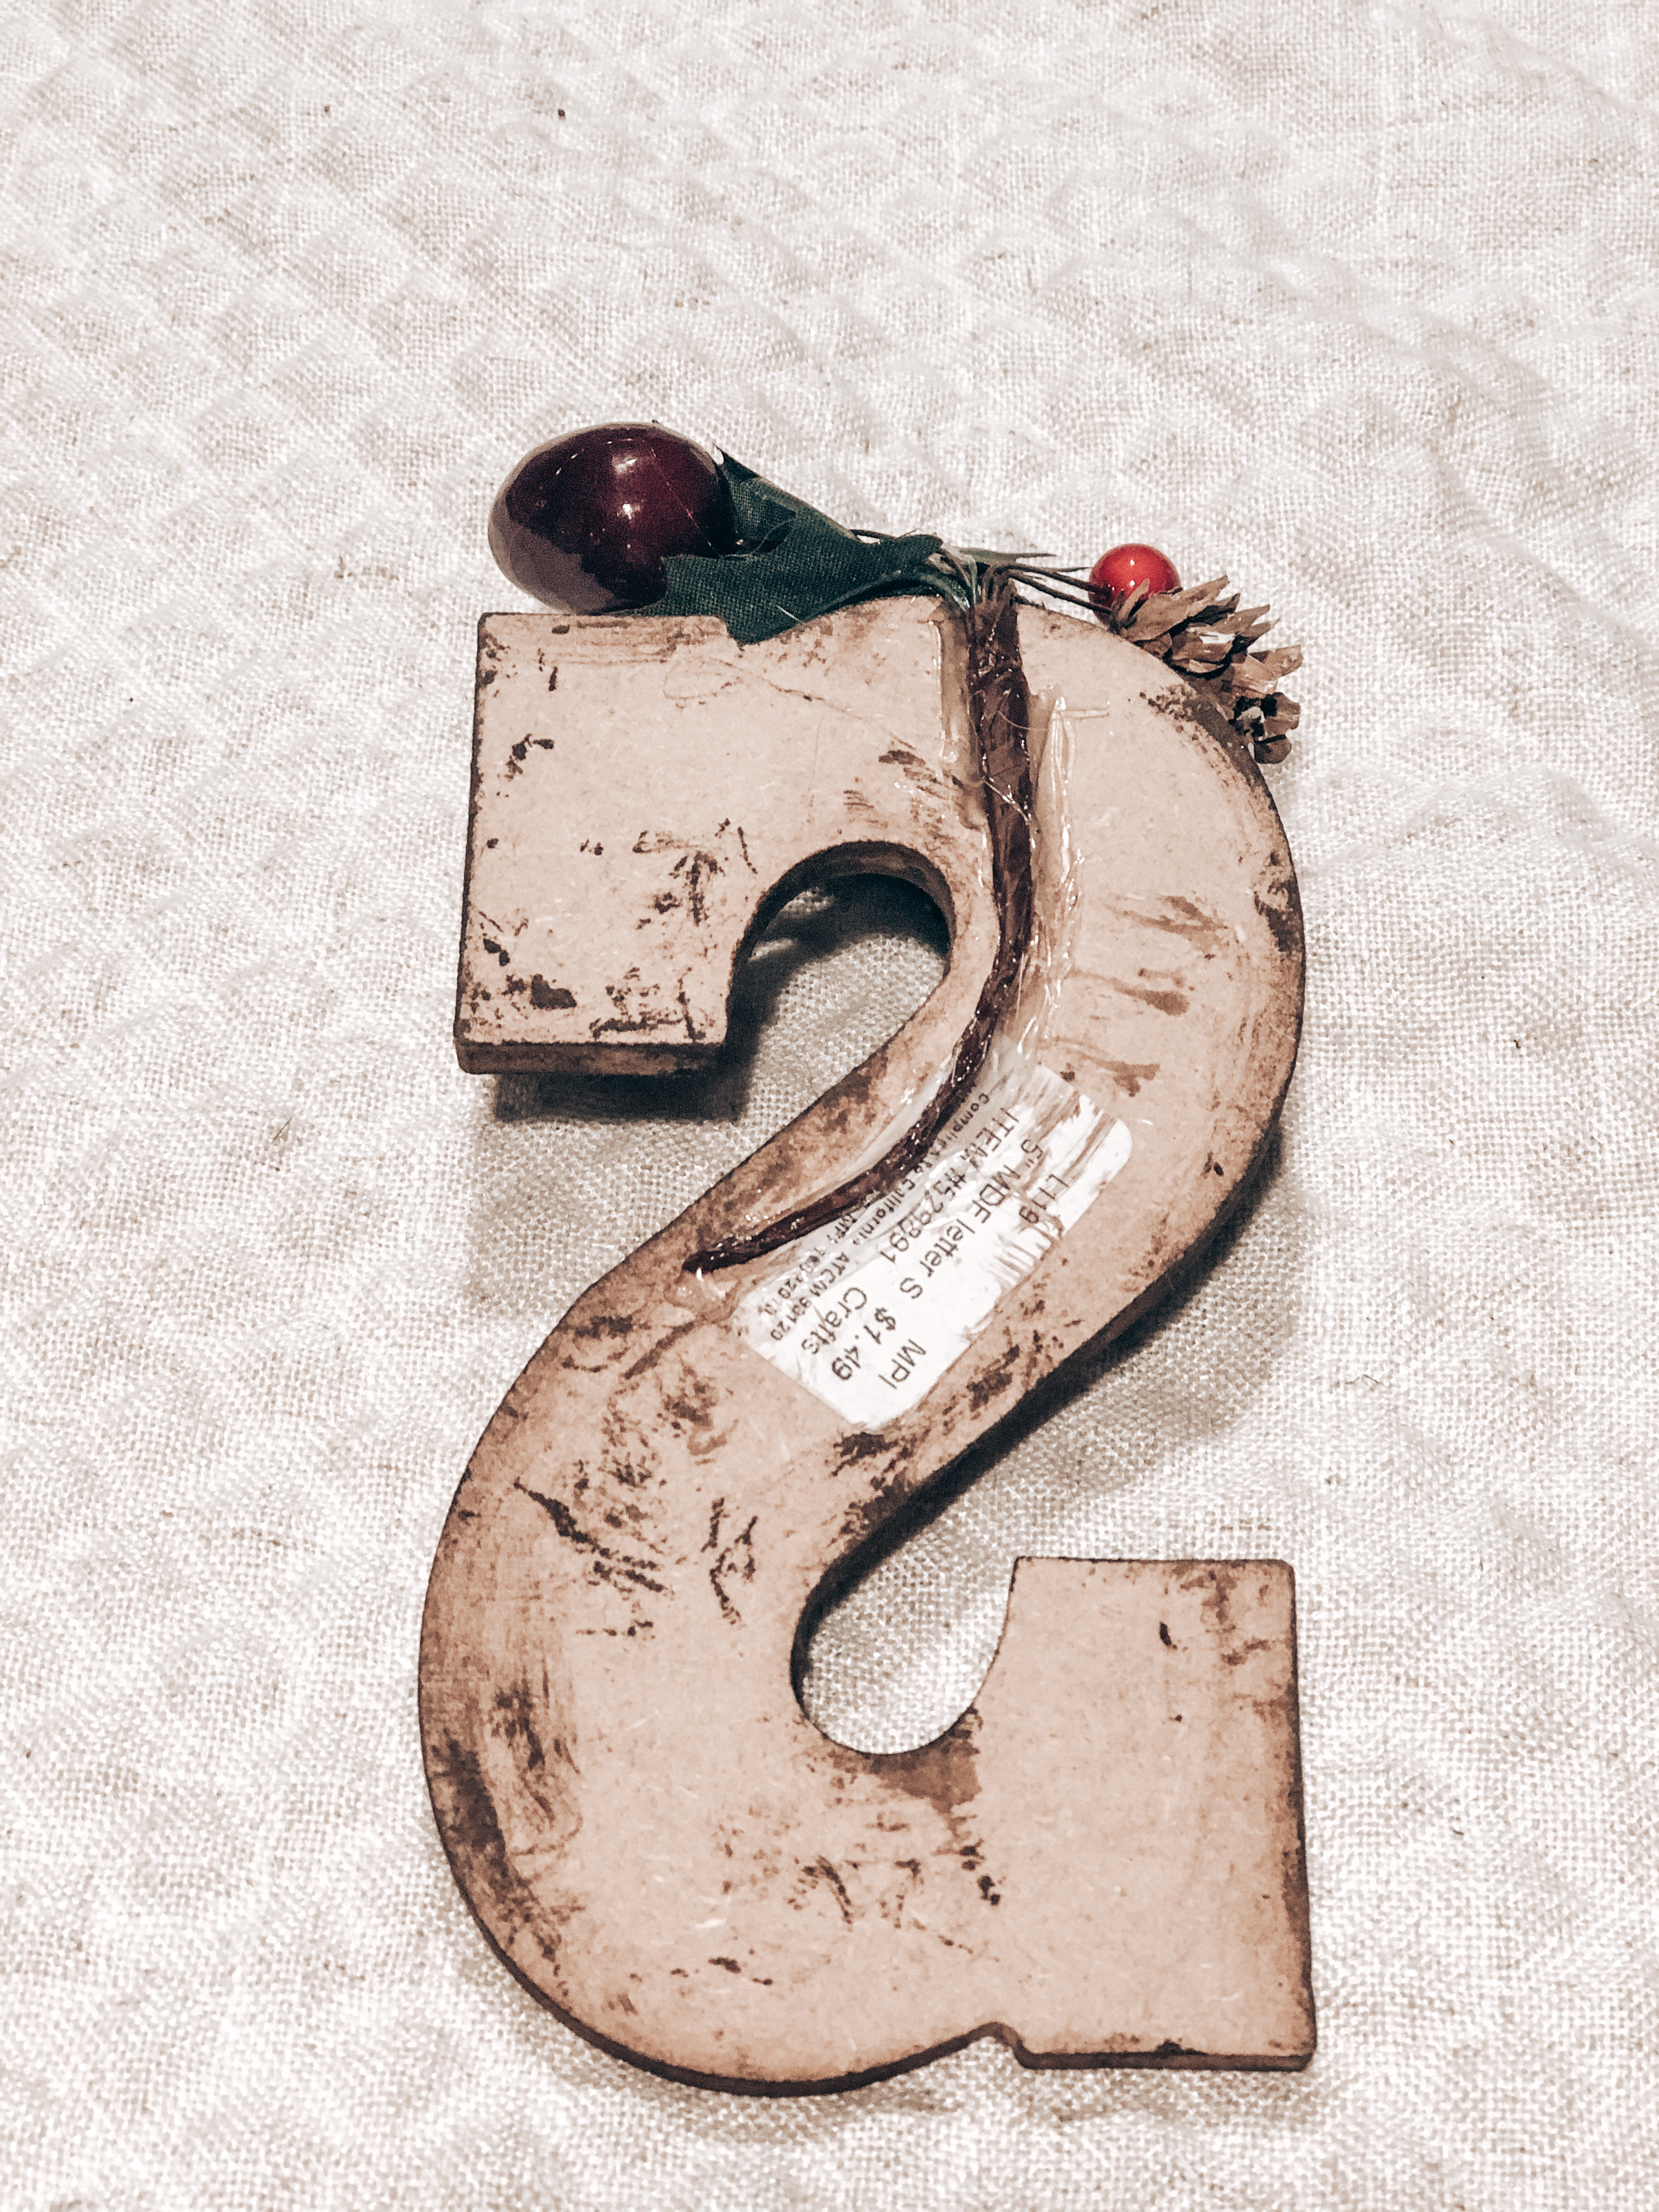
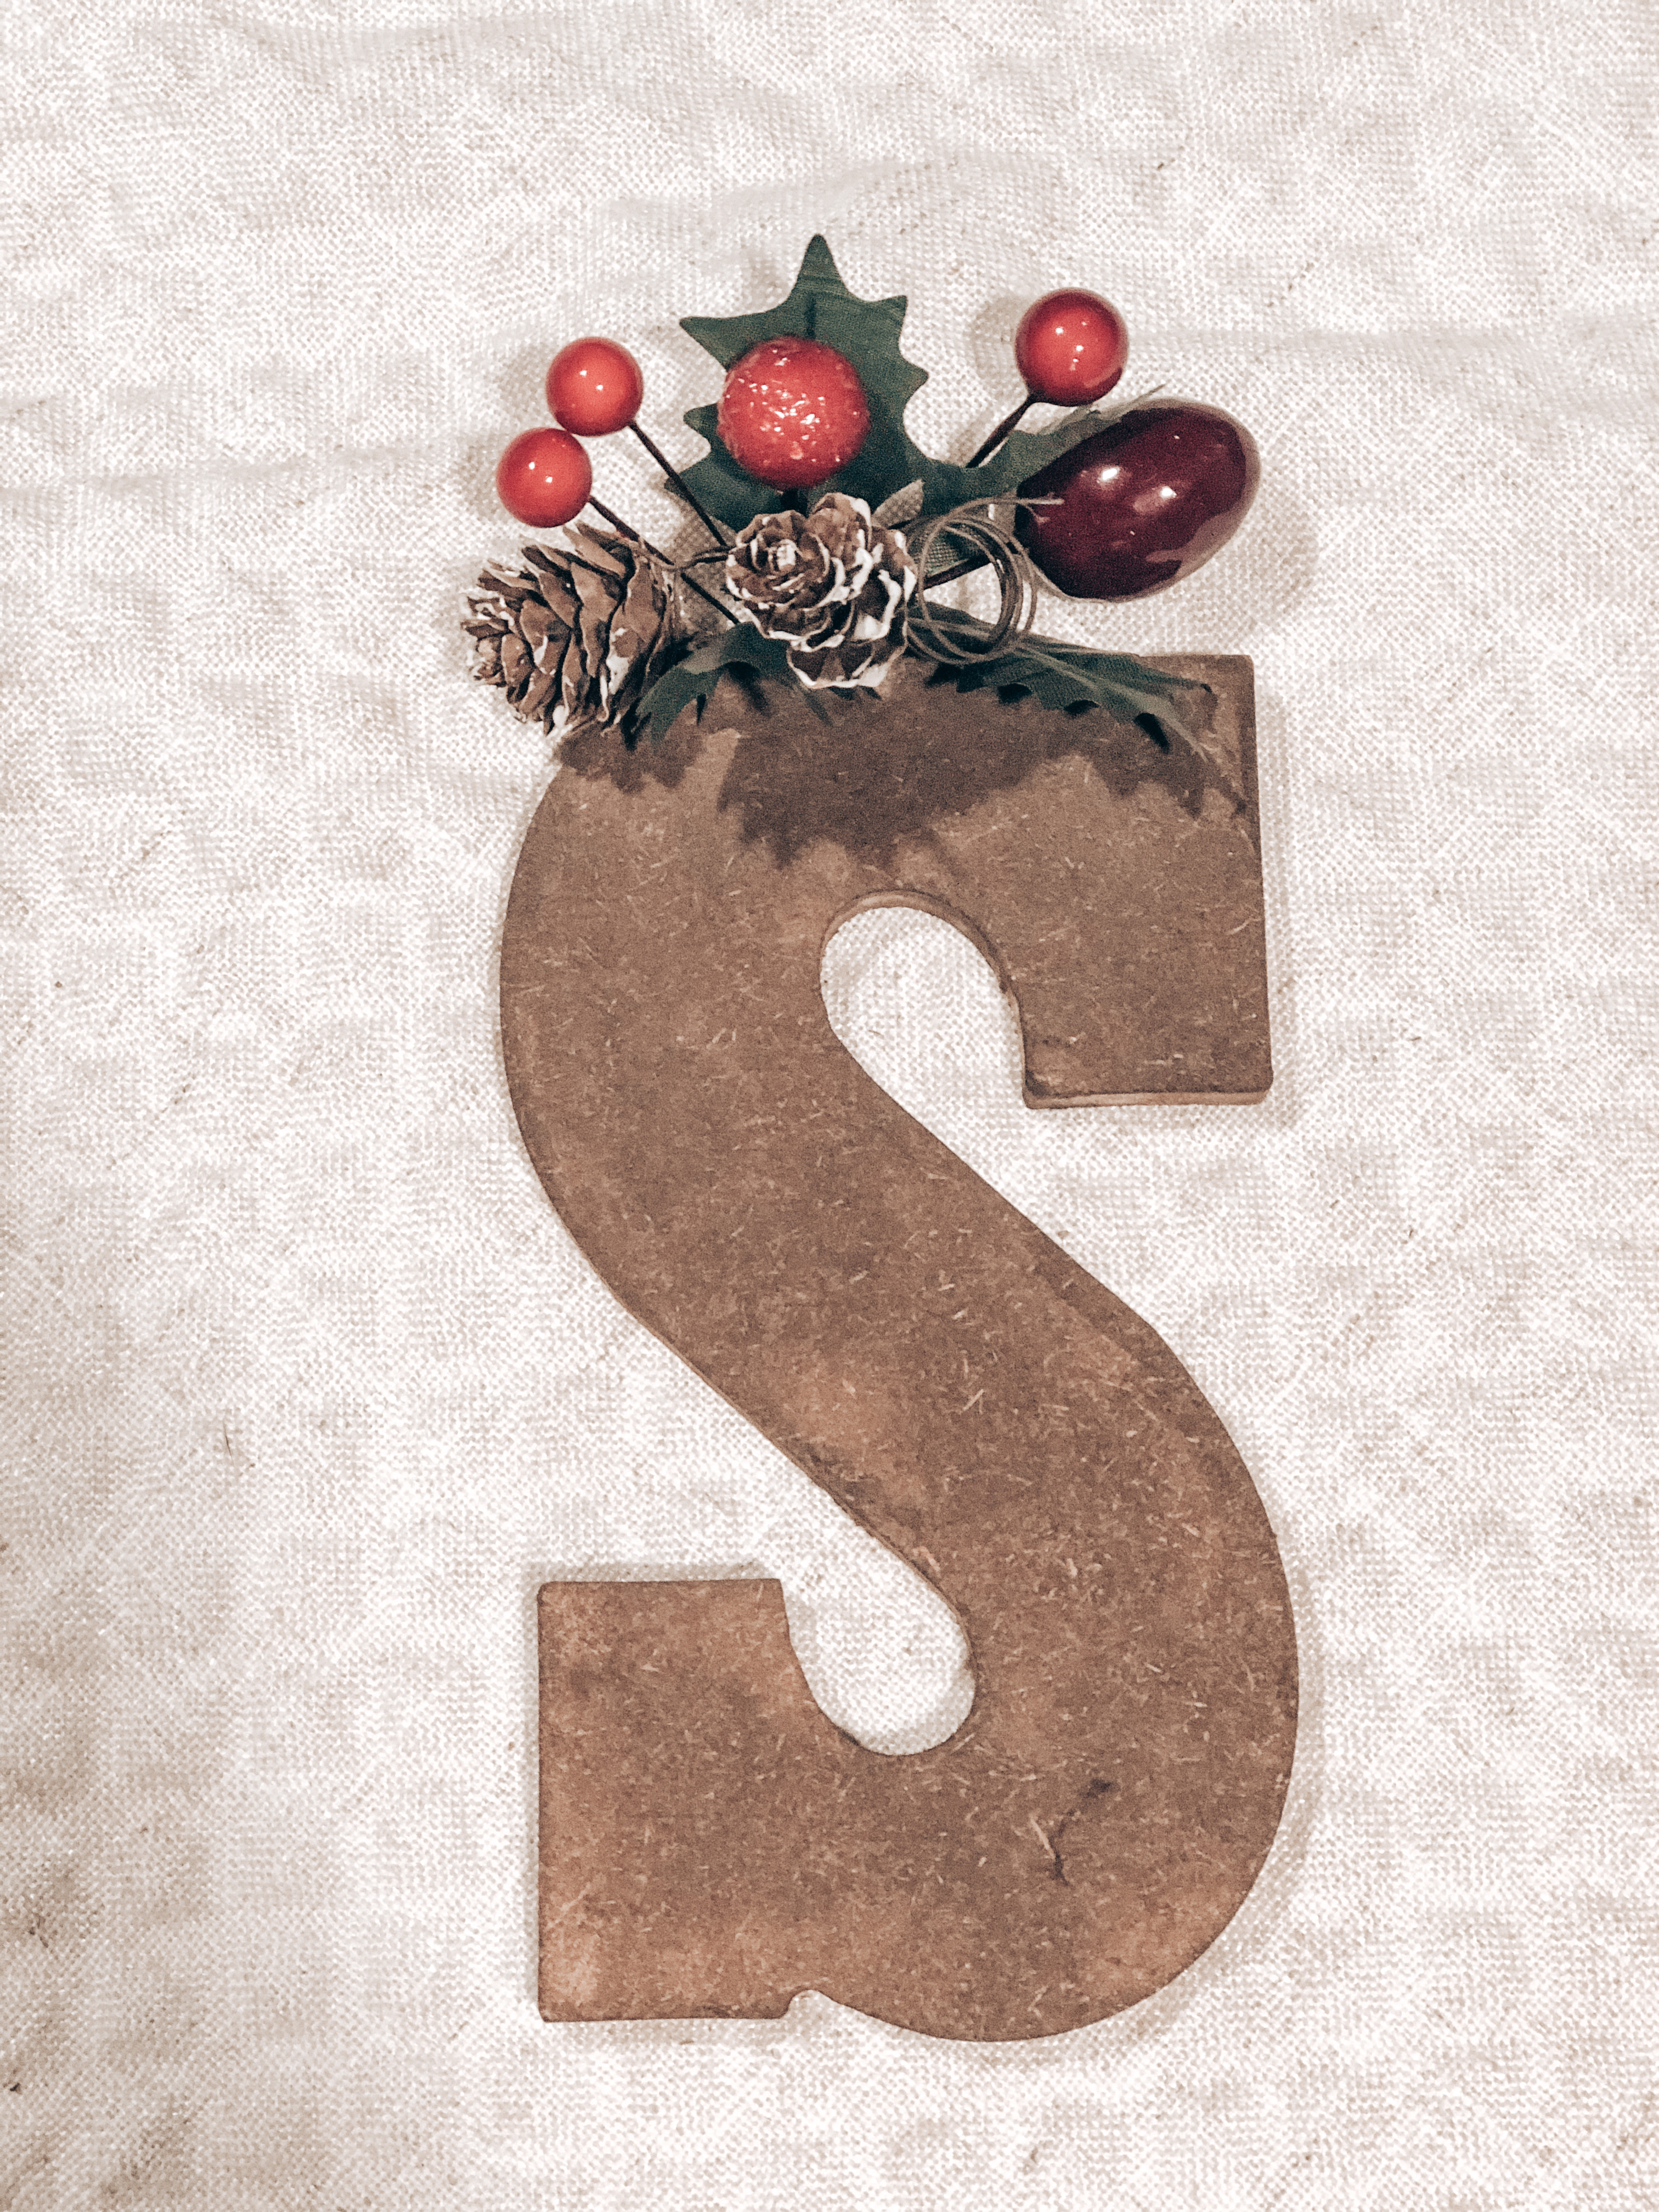
Lastly, I added a small loop of ribbon to the top so that the completed letters could hang near the top of each stocking. 

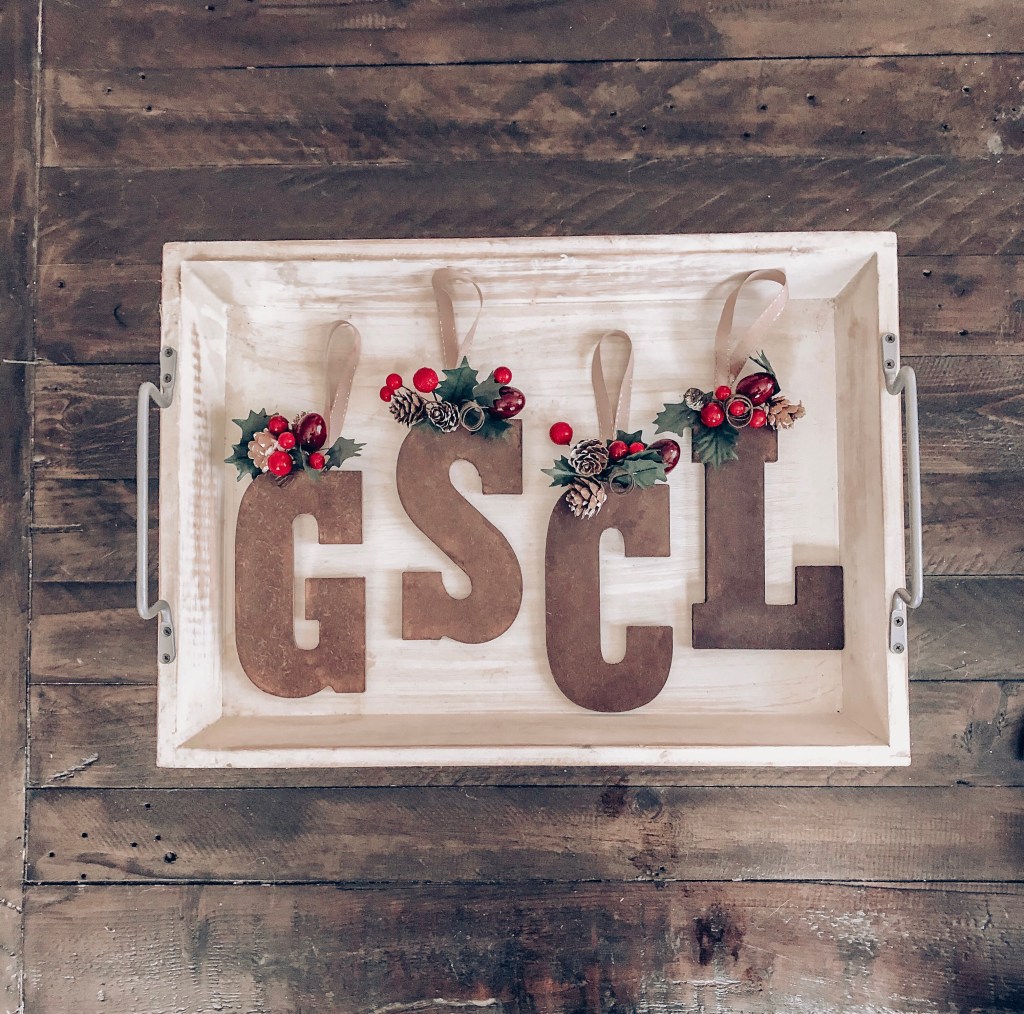
Now, each person and pup in the family has their own personalized stocking. These were so affordable and easy to make that it will be quick to add a fifth one for our Baby Boy next Christmas. I love how easy, functional, and cute these are!

Thanks for stopping by, and I hope you enjoy decking your own halls and stockings for the Holidays!

How to Decorate Your Christmas Tree in 5 Easy Steps

It’s here! It’s time to bring out garlands, wreaths, presents, and trees for the most wonderful time of the year!

Setting up and decorating our tree is my absolute favorite part of preparing for the holiday season. My husband loves the classic, fun, look of a tree with colored lights and a mix of ornaments that have been gifted or made over the years. As much as I love a colorful, sentimental tree, the perfectionist in me prefers the look of an elegant, themed tree. 

When planning out our tree while winding up and down the aisles of Hobby Lobby, repeatedly, my ideas were going in all different directions. Do I want to use the classic red and green colors, a blush pink, all silver, all gold? Too many options – which is a good problem to have! I finally decided on burgundy and champagne for the look of our tree. I ended up grabbing two packs of the simple, round ornaments, one in each color.  

Christmas Tree Ornaments

Once our color scheme was set with the ornaments, I began to choose the other decor elements. I typically use ribbon and a few floral stems to give the tree more dimension. I also pick out a few uniquely shaped ornaments that are the same colors as my theme, such as snowflakes or larger, detailed ornaments. After spending way to much time carefully searching and choosing, I purchased glitter champagne wired ribbon, burgundy wired ribbon, burgundy berry stems, gold leafy floral, thin gold spiral stems, large and small snowflake ornaments, icicle ornaments, some glitter ornaments, a tree skirt, and to top it off a glitter star tree topper. Phew – that’s a whole lot of Christmas in way too many Hobby Lobby bags! 

Now let’s decorate our tree!

1. Lights
Once the tree is set up, it’s time to brighten things up with the lights. We love to add twinkling lights to give our living room some extra sparkle. We typically use three strands of twinkling white lights and 4 strands of regular white lights. To turn the tree lights on and off, we use a combination extension cord/foot switch. It allows us to keep the lights plugged in and a quick tap of the foot on the button turns the lights on and off easily.

Christmas Tree Lights

2. Ribbon
Next, I add the ribbon. When putting the ribbon on, I start at the top and wrap it around the tree in a gradual downward fashion. The wire in the ribbon is very helpful to shape the ribbon so it appears flowy as it runs throughout the tree. When using two colors, I always alternate the two going down the tree.

3. Floral
After the ribbon is in place, it’s time for the floral and gold swirls! For this tree’s theme, I have about 20 of the berry stems, 20 of the gold leaf floral, and one package of swirls (contains about 50 stems). I place the elements throughout the tree so each is spread evenly. I have found that the floral with longer stems are easy to place sturdily in the tree. 

4. Ornaments
Now, it’s time for ornaments! I placed them around the tree to have an even mixture of colors, textures, and uniquely-styled ornaments throughout.

5. Topper & Skirt
For the finishing touches, add your tree topper and tree skirt!

And here is the finished product! I love how it turned out!

Christmas Tree
Christmas Tree
Christmas Tree

Everything on my tree is from Hobby Lobby. You can’t beat their prices when all things Christmas are 50% off! Happy decorating! 

Christmas Bedroom Decor

Deck the halls with boughs of holly! Yes, all the halls, including the bedroom! This season was the first time I decorated our bedroom for the holidays, and I am so glad I did! In the past, I’ve kept the bedroom decor more neutral year-round, but this year I couldn’t pass up the opportunity to add more Christmas decor to our home. Having the holiday colors and lights in the bedroom gives it a cozier feel!

Our king headboard is a great staple bedroom piece. It’s a beautiful shade of beige that goes with everything. The tufted headboard also provides the perfect “ledge” to set garland on. In the garland, I wove some string fairy lights to give off a tiny amount of light. The soft glow that the lights create is so pretty that I may never want to take them down!

Headboard/Bed frame
Nightstands
Garland
Lights

I bought two different throw pillow covers to put over plain pillow inserts. The burgundy pillows are 20×20 and the snowflake pillow is 18×18. I prefer to buy pillow covers because they are easier to clean, interchangeable for every season or holiday, and easy to store when not on display. The burgundy covers are SO soft, and the snowflake cover is perfect for the Christmas and winter season!

Snowflake Pillow Cover
Burgundy Pillow Covers
Throw Pillow Inserts

On each nightstand, I have cute little trees that everyone has been loving from the Target Dollar Spot. Cute little Christmas trees for $3 each?! Yes, please! I also found two matching Rae Dunn signs – “Merry” and “Believe” – to sit beside the trees. It’s very simple, but I love how these items match the red from the throw pillows and stand out on the white nightstands. 

Trees
“Believe” Wood Sign
“Merry” Wood Sign

Who else decorates their bedrooms for the holidays or seasons? Describe your favorite bedroom decor in the comments below!